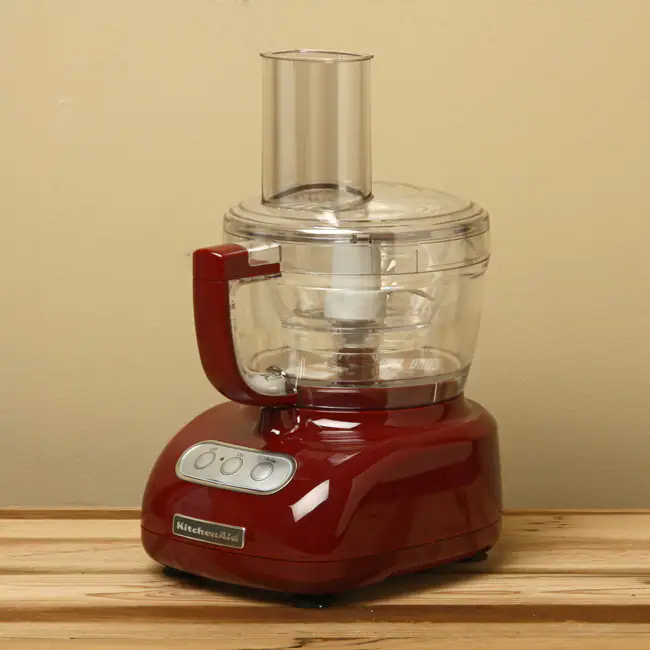
Unpacking and Setting Up Your KitchenAid Food Processor
Setting up your KitchenAid food processor correctly is essential for optimal functionality. Let’s make sure everything is ready to go step by step.
Checking the Package Contents
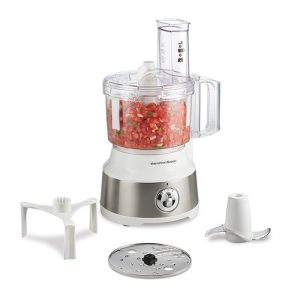
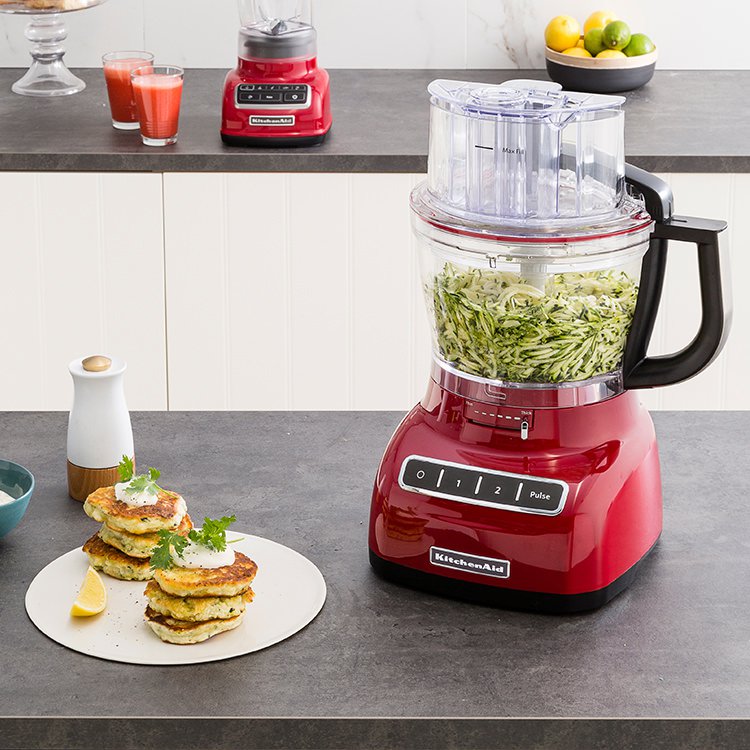
First, open the box and remove all the packing materials. Locate the instruction manual, which will be crucial for assembly and use. Check that you have all the components listed – base unit, bowl, lid, blades, and any attachments. It’s important to ensure nothing is missing or damaged during shipping.
Assembling the Machine
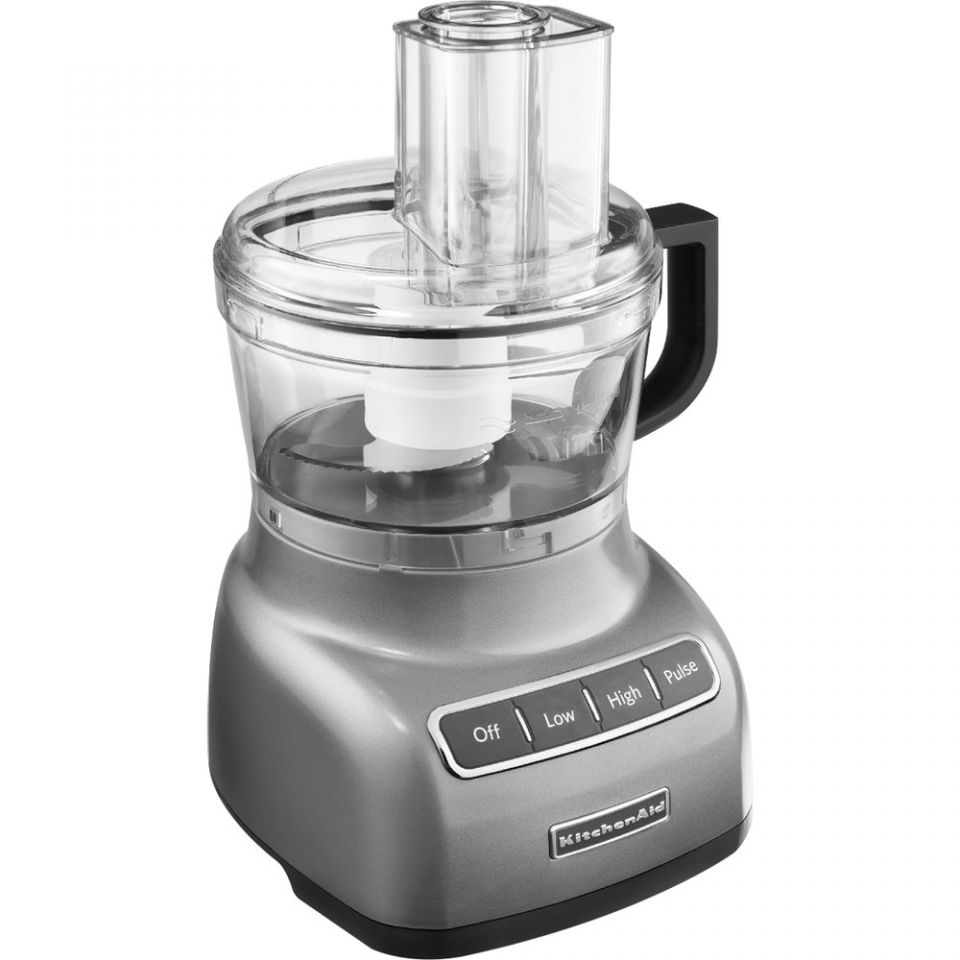
Begin by placing the base unit on a stable surface to ensure it won’t slip during operation. Attach the bowl to the base, making sure it locks into place. Next, according to the model, attach the desired blade or attachment securely inside the bowl. Match the lid with the bowl; usually, it should click or twist to lock correctly. Now, your KitchenAid food processor is assembled and ready to be powered up. Follow these steps to avoid any issues when turning on the appliance.
Understanding the Different Components
The Base Unit
The base unit is the foundation of your KitchenAid food processor. It’s the heavy part that houses the motor and ensures stability during use. Look for the power button; it’s usually located on the front or side. Make sure it sits firmly on your counter without rocking. This not only prevents accidents but also noise and movement when processing food.
The Bowl and Lid
Next up is the bowl and lid, which are crucial to safely operate your food processor. The bowl should fit snugly onto the base, often with a slight twist to lock in place. It’s designed to be leak-proof when properly secured. The lid with a feed tube allows you to safely add ingredients while the machine is running.
Various Blades and Attachments
Your KitchenAid food processor comes with various blades and attachments to tackle a range of tasks. From slicing and dicing to kneading dough, each attachment is designed for a specific function. Sharp blades handle chopping and pureeing, while disks are used for shredding or slicing. Always handle blades carefully to avoid injury, and ensure they’re properly attached before you start your food processor. Familiarize yourself with how to turn on KitchenAid food processors with these attachments connected to ensure efficient and safe operation.
Powering Up Your Food Processor
After assembling your KitchenAid food processor, it’s time to get it running.
Locating the Power Button
Find the power button on the unit. It could be on the front or the sides. It’s essential for turning your processor on and off. Remember its location for quick operation.
Connecting to Power Supply
Next, plug the food processor into an electrical outlet. Use a grounded outlet to ensure safety. Make sure the cord is out of the way to prevent any accidents. With the food processor plugged in, you are now ready to use the appliance for your culinary tasks.
 Using the Food Processor for the First Task
Once you have your KitchenAid food processor set up, it’s ready for its first task. The process is straightforward, but requires attentiveness to detail to ensure safety and efficiency.
Installing the Blade
Pick the blade you need for your task. Hold it by the plastic center or handle to avoid sharp edges. Line up the blade with the center post at the bottom of the bowl. It should fit over the post and sit flush against the bottom. Once in place, it’s critical to handle the bowl carefully to prevent the blade from falling out.
Adding Ingredients
Now it’s time to add the ingredients. Always start with the food processor off. Open the lid and insert the items into the bowl. For chopped items, cut them into even pieces before adding. This helps achieve uniform results. If using the feed tube to add ingredients while running, ensure pieces are small enough to fit comfortably. Close the lid securely, and you’re ready to move onto selecting the right settings for your task.
Adjusting Settings for Different Foods
Understanding how to adjust the settings can greatly enhance your cooking precision and produce better results. Both speed and pulsing adjustments help tailor the food processor’s operation to various food types.
Speed Settings
Your KitchenAid food processor comes with different speed settings to suit various tasks. High speeds are perfect for puréeing fruits or vegetables. Use lower speeds for dough kneading or chopping nuts. To select a speed, turn the speed dial or press the corresponding button. Remember, the right speed ensures that foods are processed correctly without being overworked.
Pulse Function
The pulse function offers brief bursts of power. This control is essential when you need more precision. Use pulse when you want to chop ingredients coarsely or combine mixtures without turning them into mush. Simply push the pulse button intermittently until you achieve the desired texture. This function offers you greater control over the food processing outcome.
Cleaning and Maintenance
Proper cleaning and maintenance are vital to keep your KitchenAid food processor running smoothly. After using your processor, take the time to clean it properly. This will help maintain its performance and extend its lifespan.
Disassembling for Cleaning
Start by turning off and unplugging the food processor. Remove the bowl from the base by twisting it off. Take out the blade or attachment used, handling it by the plastic parts to avoid cuts. Rinse the lid, bowl, and blade under running water to remove large food particles. Most KitchenAid models have dishwasher-safe parts, but check your manual to be sure.
Safe Cleaning Practices
Always use warm, soapy water to clean the non-electrical parts. For the base unit, wipe it down with a damp cloth. Avoid submerging the base unit in water or spraying it directly. Dry all parts thoroughly before reassembling. Store the attachments in a safe place to prevent damage or loss. Regular cleaning ensures your food processor is ready for your next culinary adventure.
 Troubleshooting Common Issues
Sometimes, you might face issues with your KitchenAid food processor not working as expected. Here’s how to troubleshoot common problems.
Not Starting Problem
If your food processor won’t start, check these things:
- Ensure the machine is plugged into a working outlet.
- Verify that the bowl and lid are correctly locked in place.
- Look at the safety mechanisms; they must be engaged.
- Examine the power button to see if it’s functioning properly.
- Check for any obstructions in the blade that could prevent it from moving.
Following these steps can often solve the problem. However, if your food processor still doesn’t start, consult the instruction manual or contact customer service for support.
Unusual Noises or Vibrations
A food processor should not make much noise or vibrate excessively. If it does:
- Turn it off immediately to prevent damage.
- Unplug the unit and check for loose parts or foreign objects.
- Ensure the blade or attachment is securely attached.
- Check the bowl and lid to see if they’re properly aligned and fastened.
- Make sure the food processor is on a stable, level surface.
Fixing these issues will often return your KitchenAid food processor to its normal, quiet operation. Remember, if the problem persists or you’re unsure about taking certain steps, it’s best to seek professional help.
