Introduction to Handmade Pie Crust
Discover a handmade pie crust recipe without food processor is simple and rewarding. With just a few basics, you can make a flaky, delicious base for any type of pie. Handmade crusts give you full control over the texture and flavor of your pastry. Understanding the process and ingredients is the key to pie crust perfection.
In this post, we’ll walk you through the essentials of making your crust by hand. From choosing ingredients to rolling and baking the dough, we’ve got you covered. You’ll learn the importance of temperature control and the right way to incorporate fat into the flour. Our step-by-step guide will help you perfect the art of the handmade pie crust, even without a food processor.
Get ready to impress with your baking skills. With practice, you can create crusts that are better than store-bought, full of buttery flavor, and with just the right flakiness. Let’s dive in and start our journey to flaky pie crust perfection!
Essential Ingredients for a Flaky Pie Crust
To make a flaky pie crust without a food processor, you need simple, quality ingredients. Let’s break down what each component does to help you create that perfect, buttery flakiness in every bite.
- All-Purpose Flour: The foundation of your crust; provides structure.
- Cold Butter: Key to flakiness; creates steam pockets when baking.
- Sugar: Optional, but adds a light sweetness.
- Salt: Enhances the overall flavor of the crust.
- Ice Water: Binds the dough; must be very cold.
- Acidity (lemon juice or vinegar): Limits gluten formation, which keeps the dough tender.
With these basic ingredients, you can achieve a homemade pie crust that rivals any store-bought version. Each element works together to create that classic texture and taste. Happy baking!
The Benefits of Cutting Butter by Hand
Cutting butter by hand for your pie crust offers several advantages. It allows you more control over the size of the butter pieces, which is crucial for a flaky texture. When cold butter is mixed with flour, it creates pockets which turn into flaky layers as they bake. With hand-cutting, the butter is less likely to become overworked, which can happen with a food processor and lead to a tougher crust.
By feeling the mixture between your fingers, you can achieve the perfect ‘pea-sized crumb’ consistency. This hands-on approach ensures that the fat is evenly distributed without over-mixing. Plus, it avoids heating the butter with the warmth of a machine—maintaining the butter’s temperature is key to flaky crusts. Hand-cutting the butter also brings a personal touch to the baking process, making the experience more enjoyable and the results more satisfying.
Remember to work quickly to keep the butter from warming up, and chill the fat ahead of cutting. With practice, this traditional method leads to pie crusts with superior texture and flavor, enhancing your overall baking results.
Detailed Pie Dough Preparation Steps
Creating the perfect pie dough is all about mastering the basics. Here’s a simple guide to making that flaky, delicious pie crust without needing a food processor.
Step 1: Measure Ingredients Accurately
Begin by precisely measuring your all-purpose flour, cold butter, sugar (if used), salt, ice water, and a bit of acidity from lemon juice or vinegar. Correct proportions are crucial.
Step 2: Mix Dry Ingredients
In a large bowl, combine your flour, sugar, and salt. Stir them to ensure even distribution throughout the mixture.
Step 3: Cut in the Butter
Dice cold butter and scatter it over your dry mix. Use a pastry cutter or your fingers to break the butter into pea-sized pieces. Aim for a coarse, crumbly texture, with some larger chunks.
Step 4: Add Ice Water and Acidity
Gently sprinkle the ice water mixed with your chosen acid over the mixture. Mix it sparingly. The dough should just come together without being overly wet or sticky.
Step 5: Form the Dough
Once the mixture resembles a shaggy dough, bring it together with your hands. Push it into a cohesive mass without overworking it.
Step 6: Laminate for Flakiness
Flatten your dough and fold it over itself several times. This technique, called laminating, creates layers that result in a flakier crust.
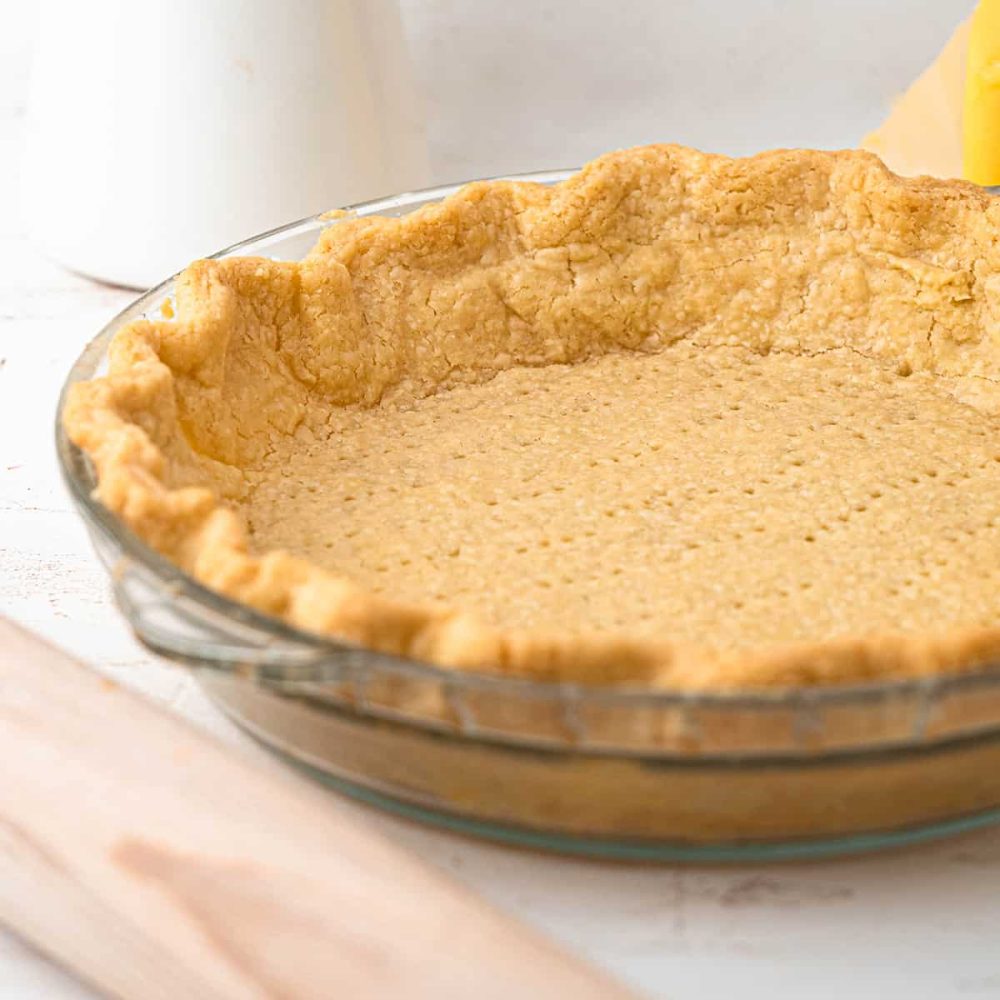
Step 7: Chill the Dough
Wrap your dough in plastic or parchment paper. Refrigerate it for at least an hour, or until it’s firm. This step is crucial for the butter to firm up and prevents the crust from shrinking during baking.
Step 8: Divide the Dough
After chilling, remove the dough from the refrigerator. Divide it into two equal portions if you’re making a double crust.
Step 9: Shape into Disks
Gently flatten each dough portion into a disk. This shape will make rolling out the dough easier later on.
Step 10: Rest Again
Wrap the disks well and rest them in the fridge. This final rest allows the gluten to relax, ensuring a tender crust.
With these steps, you’ll have pie dough that’s ready to roll out, mold into your pie dish, and fill with your favorite ingredients. Patience and attention to detail will have you creating perfect pies in no time.
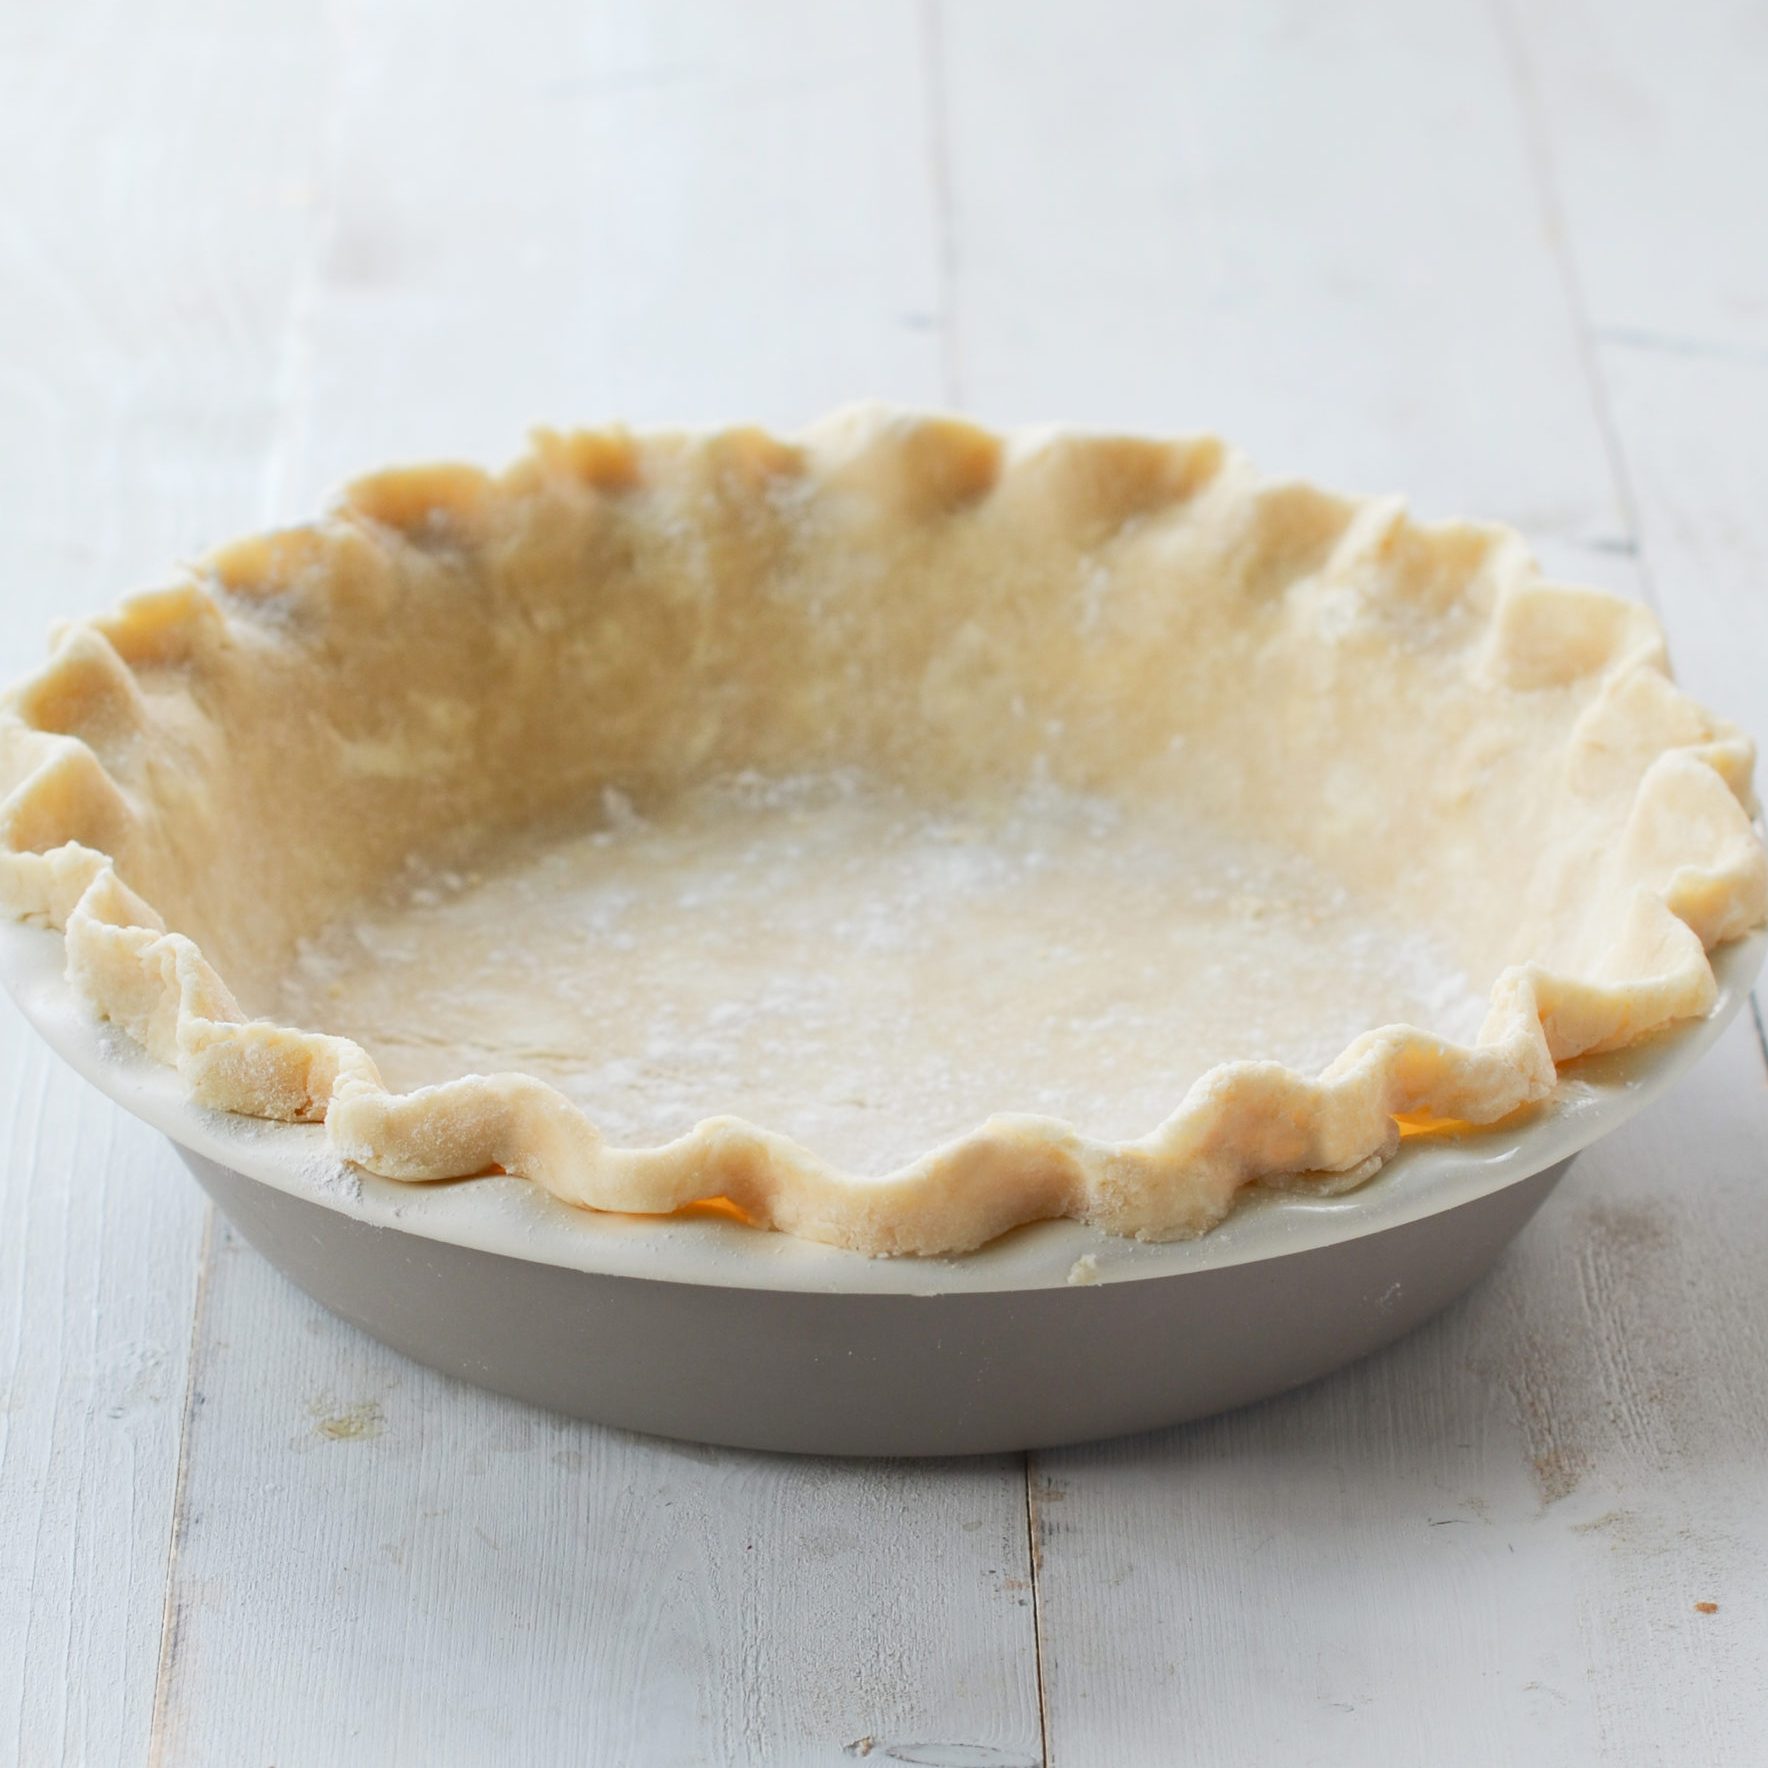
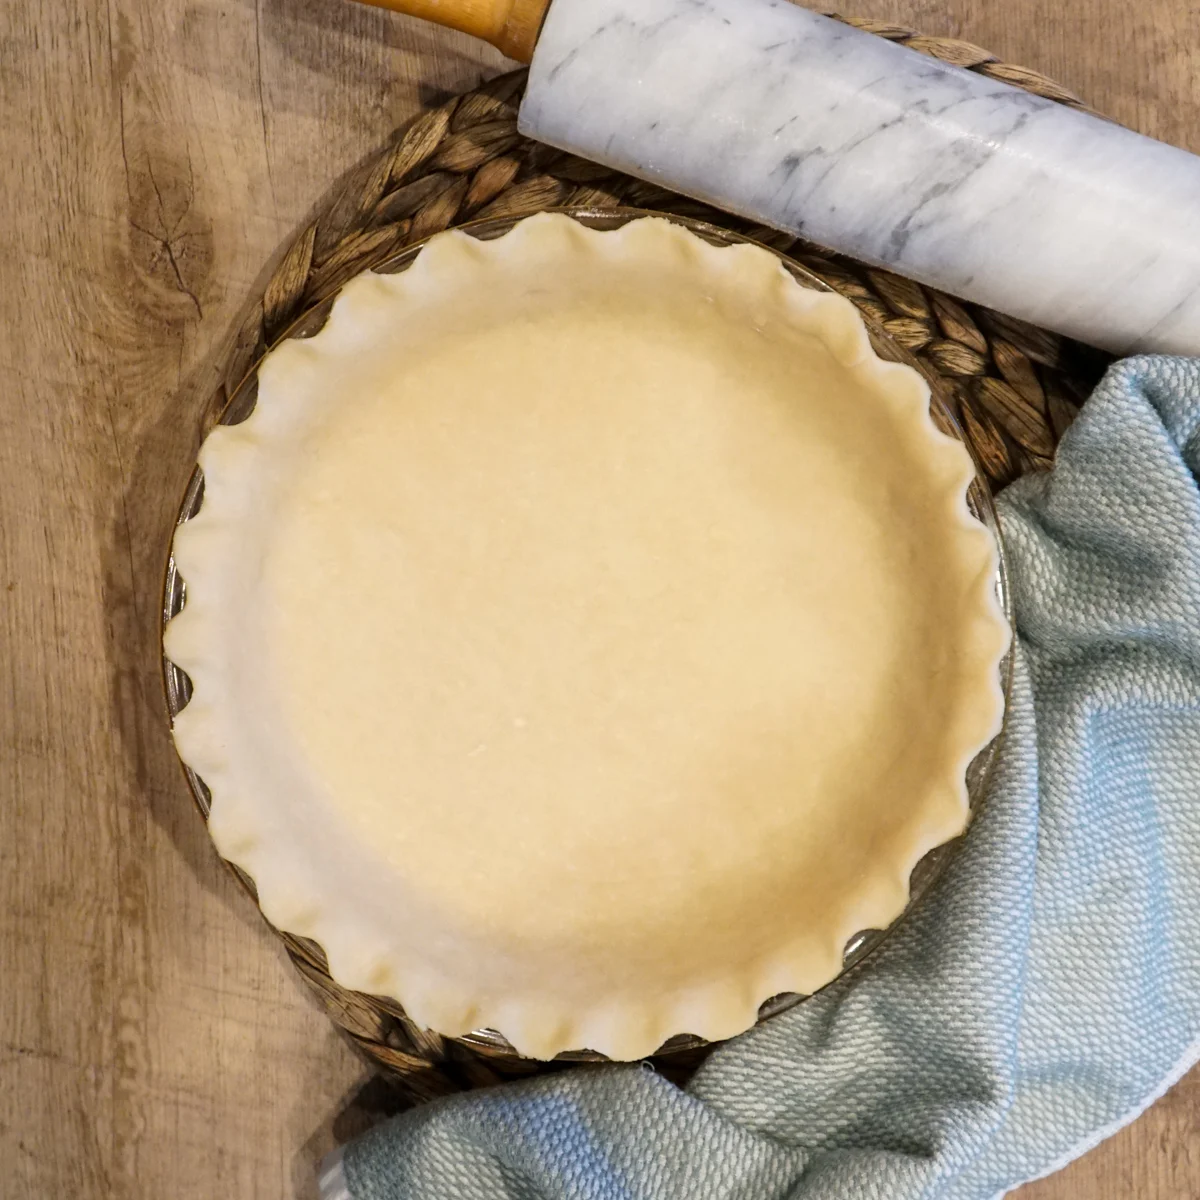 Rolling Out Your Pie Crust Correctly
Rolling out your pie crust is key to pie perfection. Start with a cold dough disc for easier handling. Dust your rolling surface and rolling pin with flour. Place the dough disc in the center. Roll from the center to the edges. Turn the dough by a quarter after a few rolls. This keeps the thickness even. Aim for a round shape, slightly bigger than your pie dish. Gently roll the dough onto your pin. Lift and unroll it over the pie dish. Ease the dough into the dish without stretching. Trim excess dough, leaving a small overhang. Tuck overhang under itself for a thick edge. If making a double crust, fill your pie and top with the second rolled-out dough. Seal the edges and cut slits for steam to escape.
Proper rolling ensures an even cook and a beautiful look. Take your time and keep the dough cold for the best results. Now, you have a crust ready to bake with your favorite filling. Enjoy the process and get ready for delicious pies made by your hand!
Par-Baking vs. Fully Baking: Techniques Explained
When baking a pie crust, you can par-bake or fully bake depending on the filling.
Par-Baking the Pie Crust
This method means partially cooking the crust before adding the pie filling. It’s perfect when the filling cooks faster than the crust. Here’s how to do it:
- Prick the bottom of the crust with a fork to prevent puffing.
- Line the crust with parchment and fill it with weights, like rice or dried beans.
- Bake until it’s lightly golden, about 10-15 minutes, then remove weights and parchment.
- Place the crust back in the oven for a few more minutes, until the bottom dries out.
By par-baking, you’ll get a crispy crust that won’t turn soggy from the filling.
Fully Baking the Pie Crust
Choose to fully bake when the filling needs no cooking or is already cooked. The process is similar to par-baking but requires more time in the oven.
- After par-baking and removing weights, bake the crust until golden brown.
- Given the filling won’t cook further, ensure your crust is deeply colored and crisp.
- This can take 15-20 minutes at 400 degrees F.
With full baking, your crust will be ready to hold any delicious filling you have in mind.
These techniques help you tailor the crust to the requirements of your pie. Whether sweet or savory, your creation will always have that sought-after flaky texture and rich taste. Combine this knowledge with the right ingredients and preparation steps for pie crust success.
Tips for a Perfectly Flaky Pie Crust
To achieve the perfect flaky pie crust without a food processor, follow these essential tips:
- Keep Ingredients Cold: Use ice water and keep your butter chilled. This stops the fat from melting too soon, keeping your crust flaky.
- Don’t Overwork the Dough: Mix just until the dough forms. Overworking heats the butter, leading to a tough crust.
- Use Acidity Wisely: Add a little vinegar or lemon juice to prevent overdevelopment of gluten, keeping the crust tender.
- Laminate the Dough: Fold and roll your dough a few times. This creates layers that bake up crisp and airy.
- Let it Rest: Chill the dough before and after rolling it out. This relaxes the gluten, making the crust easier to work with and less prone to shrinking.
- Roll Evenly: Apply even pressure and keep the thickness uniform. This ensures your crust bakes evenly without any thick or thin spots.
- Choose the Right Pan: Metal pie pans conduct heat well, aiding in a crisper crust. Glass or ceramic pans work too but may need longer baking times.
By keeping these tips in mind, you can create a flaky, delicious pie crust worthy of any filling. Each tip helps maintain the delicate balance necessary for pie crust success even without a food processor.
Storing and Freezing Pie Dough for Future Use
Storing pie dough correctly helps for quick future use. In the refrigerator, dough will last up to a week. Wrap the disk in plastic wrap tightly, or use a resealable bag. For longer storage, freezing is your best option. Dough keeps well for three months in the freezer. First, wrap it well in plastic, then place it in a freezer bag. When ready to use, thaw overnight in the fridge or at room temperature for a couple of hours.
Always let the dough rest after thawing, especially if it’s been frozen. This ensures it’s pliable enough for rolling. If it’s too firm, give it some time at room temperature to soften.
Remember, proper storage is key to maintaining the crust’s quality. Keep the dough cold until you use it. These steps guarantee that your pie crust will be flaky and delicious whenever you bake. Happy pie-making!
 Variations: Adapting the Recipe for Different Pies
Adapting your pie crust recipe can lead to a variety of pies. Use the basic crust as a canvas. Add spices like cinnamon for sweet pies. For savory pies, mix in herbs like rosemary. Swap sugar for cheese in savory crusts. You can replace water with a fruit juice for added flavor. Add lemon zest for a citrus kick in sweet pies. Use whole wheat flour for a nutty, hearty crust. Keep in mind, changes may affect the crust’s texture. Experiment to find the best combos. Enjoy creating your own unique pie crust variations!
Conclusion: The Joy of Homemade Pie Crust
Embrace the art of creating your own pie crust without a food processor. The satisfaction of mixing and rolling your dough adds a personal touch to your baking. Reap the rewards of your effort with a crust that’s tailored to your taste. From savory quiches to sweet fruit pies, your handmade crust will impress anyone who gets a slice.
With detailed steps and key tips, you’ve learned how to preserve flakiness and achieve a perfect crust every time. Storing and freezing the dough ensures you’re always ready for pie-making. Adapt the recipe for different pies and explore new flavors and textures.
Enjoy the process of crafting your crust. Find joy in the simple pleasure of baking from scratch. Remind yourself that with each roll and fold, you’re creating more than just a pie—you’re making memories. So gather your ingredients and let’s start baking!