Introduction to Homemade Butter
How to make butter in a food processor? The art of creating butter from scratch may seem daunting. But with a food processor, it becomes a simple and gratifying task. Homemade butter boasts a freshness and flavor that store-bought versions cannot match. By churning cream in a food processor, you engage in an age-old practice. Today, it aligns with the movement towards natural and self-sufficient living.
Necessary Ingredients for Homemade Butter
Creating homemade butter is easier than you may think, and it begins with just one key ingredient: cream. Specifically, heavy cream or heavy whipping cream works best. It should be high in fat, preferably with a fat content of about 35% to 38%. This high-fat cream ensures that when you whip it in a food processor, it separates into butterfat and buttermilk effectively.
You can also add salt to your butter for flavor. Salt acts not only as a flavor enhancer but also helps to preserve the butter, allowing it to last longer. The amount of salt can vary according to your taste preferences. Typically, a quarter to half a teaspoon per cup of cream is a good starting point.
Optional ingredients include cultured buttermilk or plain yogurt. These are used to make cultured butter, which has a tangy flavor compared to sweet cream butter. If this piques your interest, try adding a tablespoon of cultured buttermilk or yogurt for every two cups of heavy cream you use.
The Best Food Processors for Butter Making
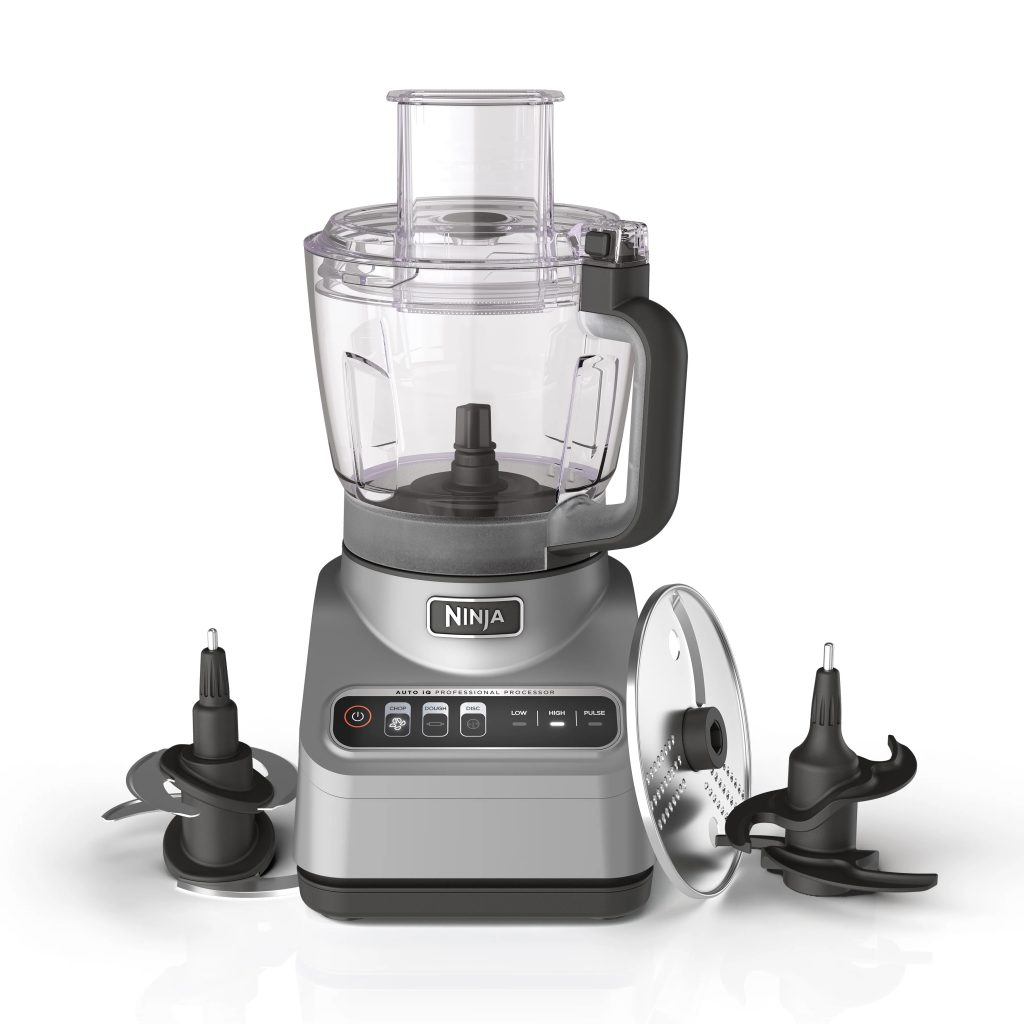
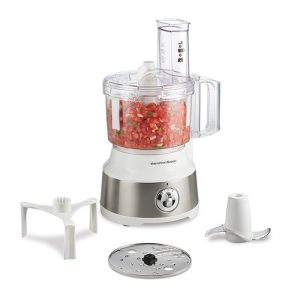
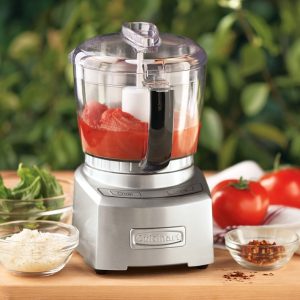
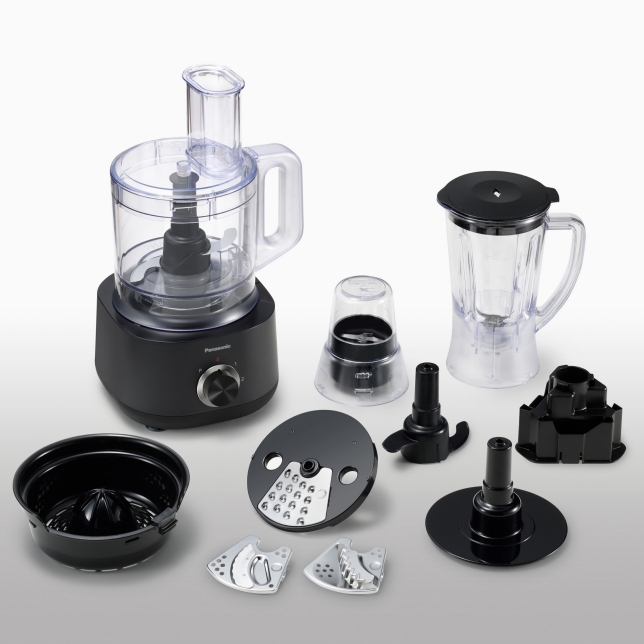
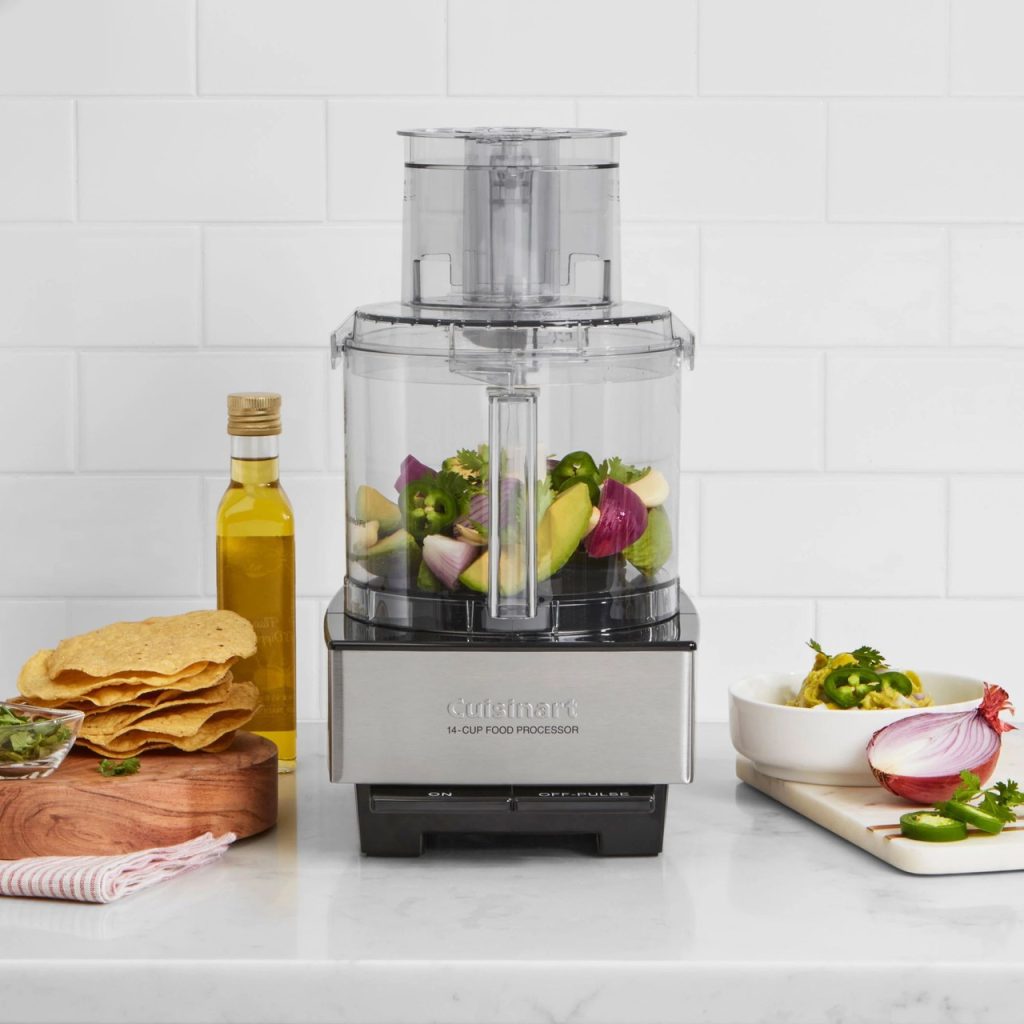
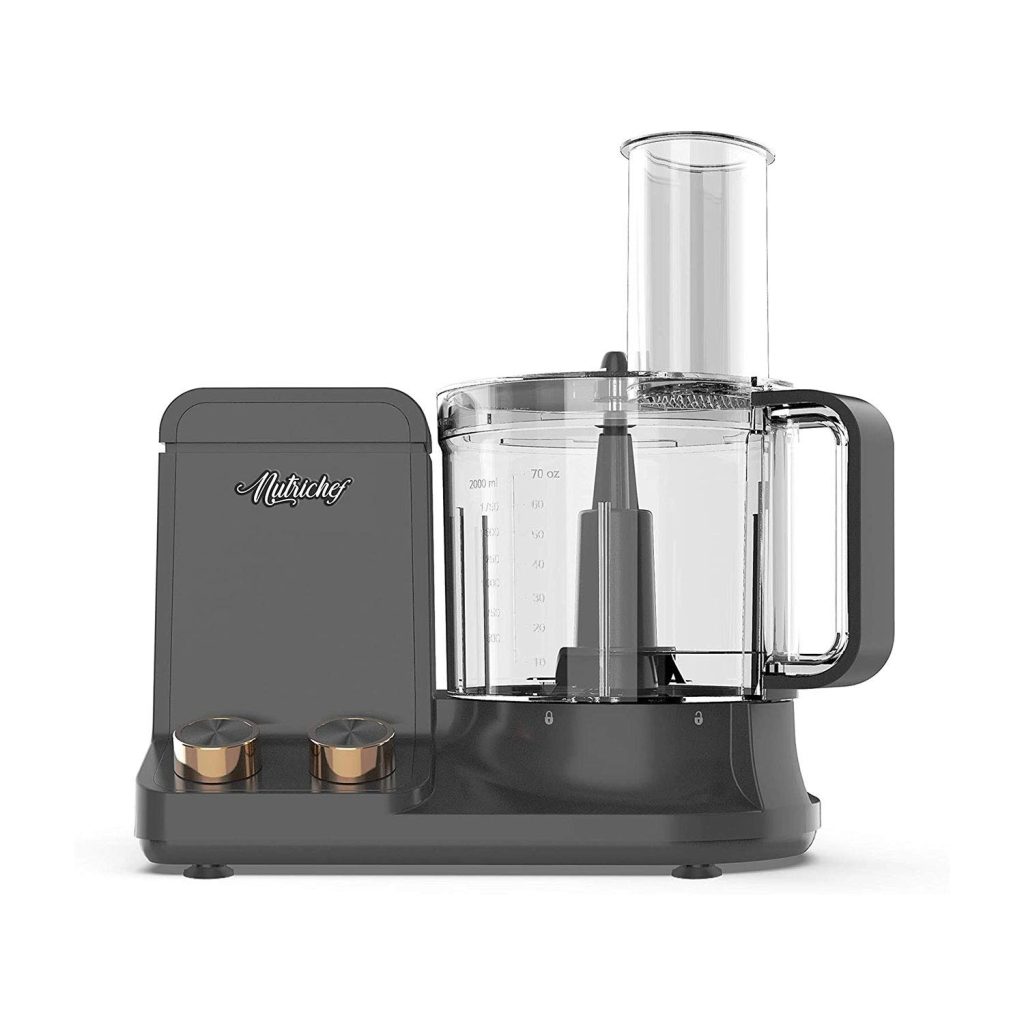
Choosing the right food processor is vital for making homemade butter. Look for machines with high wattage motors. They offer enough power to churn the cream into butter effectively. A capacity of at least 8 cups is ideal for making butter without overflowing.
Opt for a food processor with variable speed settings. Having control over the speed can help prevent the cream from overheating. Overheating can affect the texture of your butter. Some processors also come with a ‘pulse’ option. This can be useful for the initial stages of churning.
Ensure the food processor you select has a sturdy base. This will keep it stable during the vigorous churning process. Also, find a model with easy-to-clean parts. Butter making can be messy, so quick cleanup will make the process more enjoyable.
Popular brands that meet these criteria include Cuisinart, KitchenAid, and Breville. These brands offer models that are both efficient and durable. Always check the warranty and customer reviews before making your purchase.
Step-by-Step Guide to Making Butter in a Food Processor
Ready to make butter? Follow these steps for a smooth, satisfying experience. Start by pouring the cream into your food processor. Ensure the cream fills only half of the bowl to avoid overflow. Secure the lid and begin processing at medium speed. After a few minutes, the cream will thicken into whipped cream. Keep going! Watch for the moment when the cream separates. You’ll see butter clumps and liquid buttermilk. Once separated, stop the food processor. Pour off the buttermilk for other uses. Now, add cold water to your butter. Pulse the processor a few times. This washes out remaining buttermilk bits. Drain the water carefully from the butter. Then, scoop out your butter. Press it firmly with a spatula or spoon. This removes any extra water. Transfer your butter to a container.
To achieve perfect butter with your food processor
Consider these simple tips and tricks. Quality cream is key. Start with cold, high-fat cream for the best results. Temperature can affect the churning process. Overly warm cream won’t separate well. Room temperature cream works best.
Never fill the food processor bowl more than half full with cream. This allows space for the cream to churn without spilling. Use the ‘pulse’ function at the beginning. Short bursts help control the churning speed and prevent over-mixing. Watch the churn closely. When the cream thickens to whipped cream, then separates into butter clumps and buttermilk, it’s done.
Drain the buttermilk right after the cream separates. Use it in pancakes, biscuits or marinades. Rinse the butter with cold water. Washing the butter removes lingering buttermilk and extends the butter’s shelf life. Knead your butter after rinsing. Kneading helps to expel any trapped buttermilk and firms the butter.
For flavored butter, add ingredients after rinsing. Mix in herbs, garlic, or honey for a taste twist. Store your butter properly. Wrap it in parchment paper or use an airtight container to keep it fresh. Remember these pointers, and you’ll make rich, creamy butter every time you use your food processor.
Understanding the Science Behind Butter Making
Understanding butter making involves a fascinating bit of science. It’s all about the transformation that takes place when cream is churned. When you start the food processor, you’re making the fat globules in the heavy cream collide. This beating action causes the fats to clump together, separating from the liquid, which is buttermilk.
The process begins as the cream gets whipped. This incorporates air and the fat starts to stiffen. As the churning continues, these fat globules stick together more and more. Eventually, they form a mass separate from the buttermilk. This mass is butter. The temperature and agitation determine how quickly this happens. Too warm, and the butter will be too soft. Too much churning, and the butter can become grainy.
How to Store and Serve Your Homemade Butter
After mastering how to make butter in a food processor, proper storage is key. Your homemade butter can last for weeks with the right care. Below are essential tips on how to keep your butter fresh and delicious. Moreover, you’ll learn some simple ways to serve it that will impress your family and friends.
Storing Your Butter
To maintain freshness, store your butter in the fridge. Use an airtight container or wrap it in parchment paper. This protects the butter from absorbing fridge odors. Store away from strong-smelling foods. Butter easily takes on other flavors. For longer storage, freeze your butter. Wrap it tightly in plastic wrap and place in a freezer bag. It can last for several months. Thaw in the fridge when ready to use.
Serving Your Homemade Butter
Your butter is perfect for many dishes. Spread it on toast or fresh bread for a simple delight. It also enhances the flavor of cooked vegetables and steaks. Be adventurous and try it with pancakes or muffins. You can always serve your homemade butter at room temperature for easy spreading. Remember, fresh butter melts quickly, so add it to warm dishes just before serving.

Creative Uses for Your Homemade Butter
Once you’ve mastered how to make butter in a food processor, get creative with it. Here are some delightful ways to use your homemade butter:
- Enhance Baked Goods: Swap store-bought butter with your homemade version in cookies or cakes. It adds a richer flavor.
- Create Flavored Butters: Mix in fresh herbs, spices, or sweeteners like honey. They’re perfect for bread spreads or to top off dishes.
- Savory Sauces: Melt your butter and mix with garlic or wine for a decadent sauce. Drizzle it over pasta or seafood for an elegant touch.
- Homemade Spread: Combine your butter with cheese or sundried tomatoes. Spread it on sandwiches or crackers for a gourmet snack.
- Fry or Sauté: Use butter instead of oil. It gives a more flavorful crust to fried eggs or sautéed veggies.
- Gifts for Foodies: Put your butter in a nice jar with a label. It makes a thoughtful, homemade gift.
By exploring these creative uses, you’ll discover that your homemade butter is more than a simple spread. It’s a versatile ingredient that can inspire a wide array of culinary experiments. Enjoy dabbling in these ideas and perhaps, you’ll even develop some signature butter creations of your own.