Why You Should Make Butter in a Food Processor
Making butter in a food processor is a quick and delightful kitchen project. It’s perfect for those moments when you want to create something special. Whether it’s to mark an anniversary or just to turn an ordinary breakfast into a gourmet experience with cinnamon toast, butter made from scratch adds a personal touch that can’t be bought.
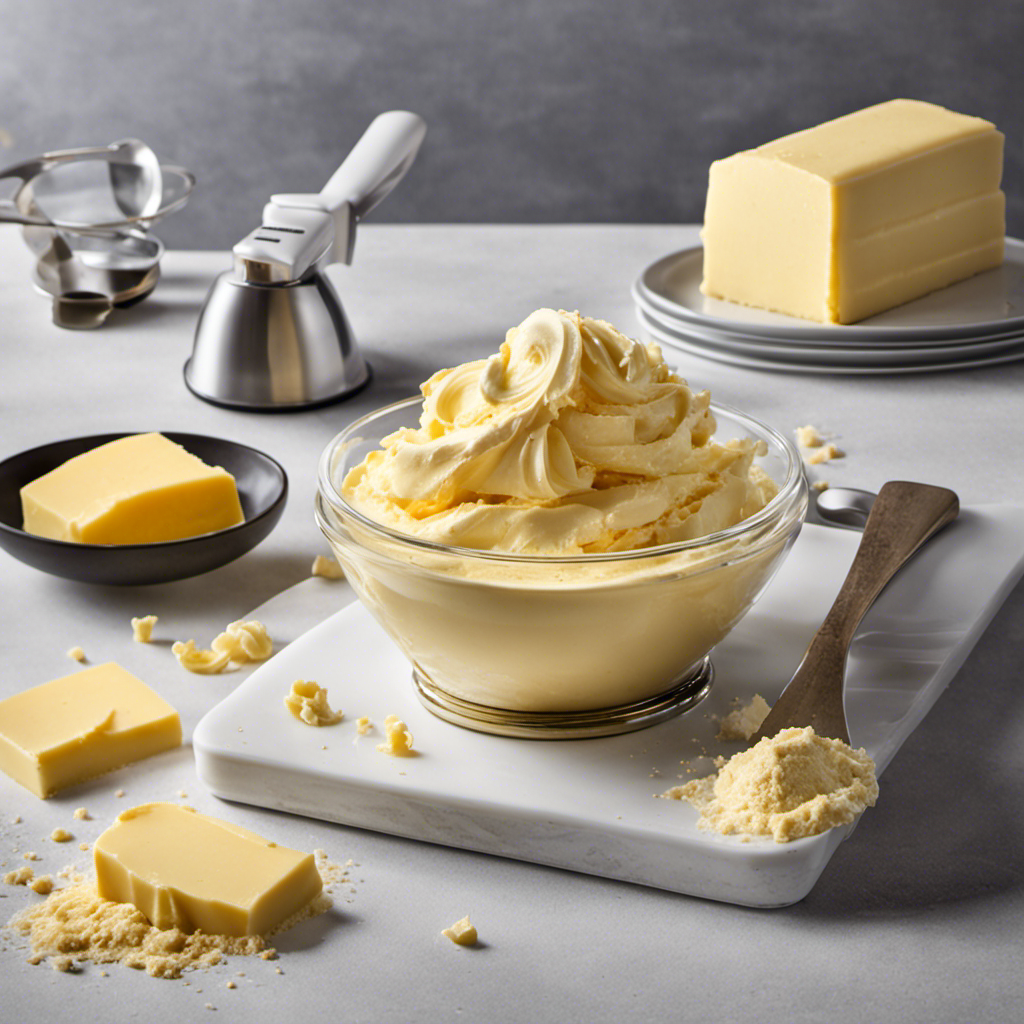
Using a food processor simplifies the butter-making process. It turns this once labor-intensive task into an easy and fun activity. Plus, making butter at home allows you to customize flavors and achieve a freshness you can’t find in store-bought options. You have the freedom to add garlic, herbs, or sweet elements like cinnamon and sugar to create compound butters that can transform any dish.
Another compelling reason to use a food processor is the control you gain over the ingredients. By choosing high-quality cream, you ensure a pure and delicious final product. This approach is perfect for food enthusiasts and health-conscious cooks who prefer to know exactly what goes into their food.
Lastly, making butter in a food processor is cost-effective. You get both butter and buttermilk, which you can use in various recipes like biscuits and cornbread. It’s a way to extend the value of a single ingredient, ensuring nothing goes to waste. By embracing this method, you turn the kitchen into a place of creativity and resourcefulness.
Essential Ingredients and Tools Needed
For those wondering ‘can you make butter in a food processor?’, the answer is a resounding yes. To embark on this delightfully simple culinary journey, let’s start by gathering the essentials. You’ll need the following ingredients and tools to make homemade butter:
- High-Quality Cream: Opt for the freshest, least pasteurized cream you can find. Unpasteurized or low-pasteurization cream churns into butter more quickly and offers a richer taste. If unavailable, add a tablespoon of crème fra?che to pasteurized cream to mimic the tang of cultured butter.
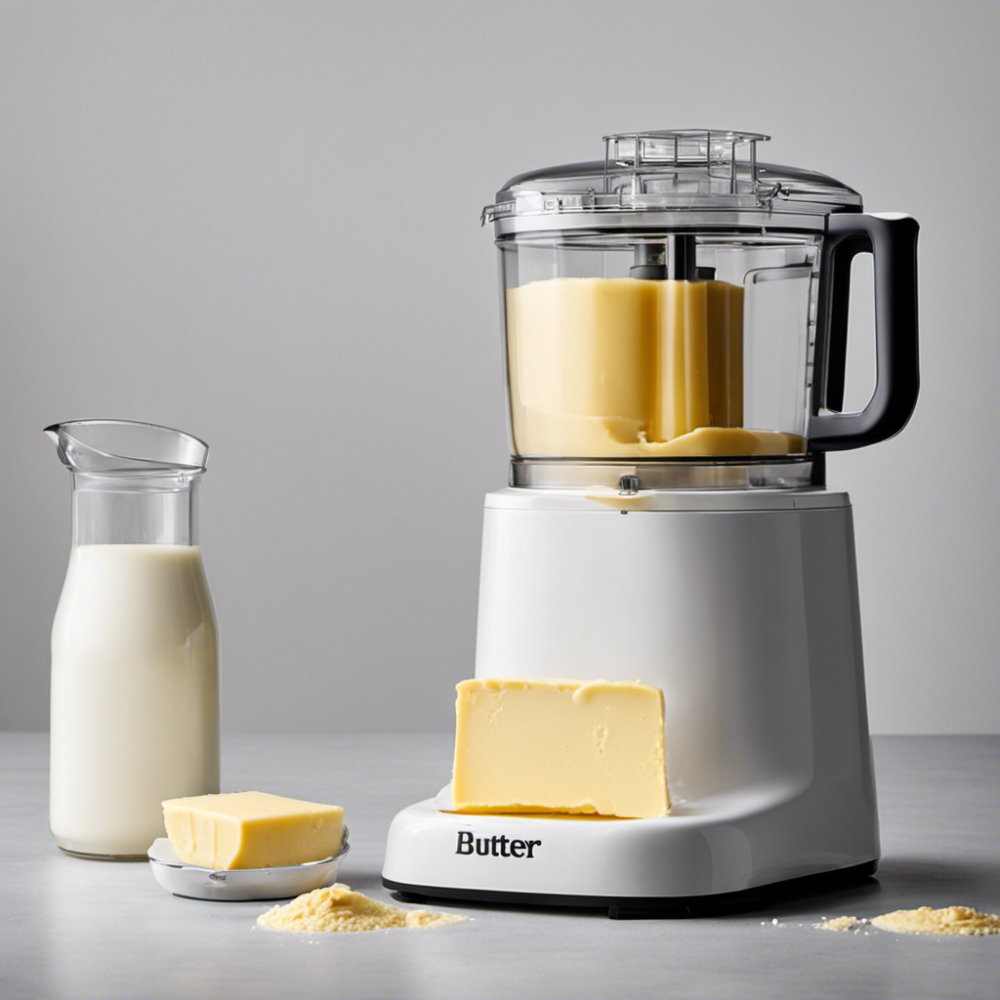
- Food Processor: This kitchen gadget is key to turning cream into butter efficiently. Ensure it’s clean and has enough capacity. For 2 cups of cream, a 9 to 11-cup food processor should suffice.
- Spatula: You’ll use this to scrape down the sides of the bowl during the process.
- Cold Water: Needed for rinsing the butter after churning to remove excess buttermilk and proteins.
- Cheesecloth or Clean Kitchen Towel: For straining your butter and squeezing out the remaining moisture.
- Salt or Flavorings: These are optional but can enhance your butter if you decide to make compound butter. Popular additions include herbs, garlic for savory butter, or cinnamon and sugar for a sweet twist.
- Container for Buttermilk: Don’t toss out the buttermilk — it’s a valuable byproduct. Prepare a container to catch and store it.
With these materials at the ready, making homemade butter becomes a straightforward and satisfying task.
Step-by-Step Guide to Making Butter
Ready to transform cream into homemade butter using your food processor? Follow this simple guide, and in just a few minutes, you’ll have rich, creamy butter ready to use or flavor as you like.
- Pour the Cream: Start by pouring high-quality cream into your food processor. Make sure the cream fills just above the blade, without surpassing half of the bowl’s capacity.
- Start Whipping: Secure the lid and turn on the processor at a moderate speed. Watch as the cream thickens and eventually separates into butter solids and liquid, which takes about 4 to 7 minutes.
- Separate Buttermilk: Once the butter solids clump, turn off the processor. You’ll now have buttermilk – don’t waste it! Save this nutrient-rich liquid for other delicious recipes.
- Rinse the Butter: Add cold water to the bowl to rinse the butter. Swirl gently by hand, then drain. Repeat until the water runs clear, removing leftover buttermilk and protein.
- Flavor (Optional): For flavored butter, add your chosen seasonings, like salt, garlic, or cinnamon, and pulse briefly to combine. Don’t overmix to maintain the butter’s texture.
- Drain and Squeeze: Place the butter in cheesecloth or a kitchen towel. Twist and squeeze to extract any remaining moisture. This step ensures a longer shelf-life for your butter.
- Shape and Store: Form your butter into a log using parchment paper, twist the ends for a tight seal. Refrigerate until firm. Enjoy it within five days or freeze for later use.
Creating butter at home is not only simple but gives you full control over the taste and quality. Now that you know how, enjoy spreading your homemade butter on toast, baking with it, or using it to elevate your dishes!
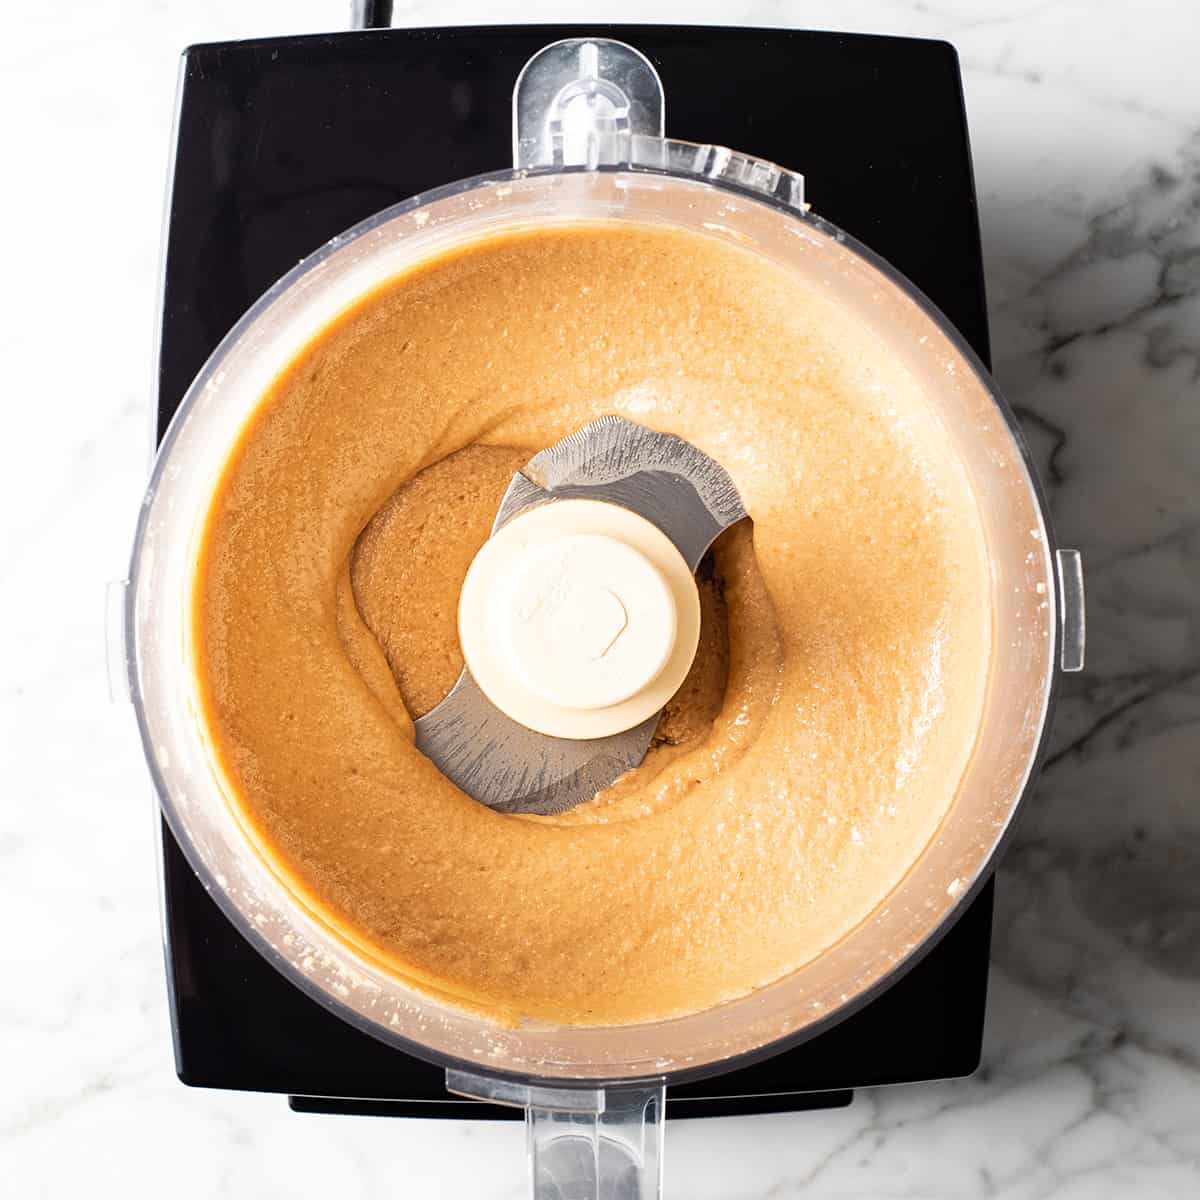 Buttermilk Uses: Making the Most of Your Byproduct
Making butter also gives you fresh buttermilk. This tangy byproduct has many great uses in the kitchen. Don’t discard the liquid that separates from your butter solids. This is authentic buttermilk, great for various recipes. Here are some ways to use it:
- Bake with Buttermilk: Use it in place of regular milk in baking. It adds a rich taste to biscuits, pancakes, and other baked goods.
- Tenderizing Meat: Buttermilk works well as a meat tenderizer. Soak chicken or other meats in it before cooking for juicy, tender results.
- Creamy Salad Dressings: It’s ideal for homemade dressings. Mix with herbs and spices for a refreshing salad topping.
- Marinades: Buttermilk’s acidity helps flavors penetrate meats and keeps them moist.
- Smoothies: Add it to your smoothies for a protein boost. It mixes well with fruits and greens.
- Soups: Enhance your soups with buttermilk. It adds a creamy texture without the fat of cream.
Remember to store the buttermilk in the fridge. Use it within a couple of days for best freshness. Making butter isn’t just about the spread. It’s about maximizing your ingredients. With these ideas, you can enjoy the full benefits of your homemade butter and buttermilk.
Flavored Butter: Elevating Your Homemade Spread
Once you have your basic butter made, why stop there? Flavored butter, also known as compound butter, can transform any dish from good to gourmet. It’s simple to customize your spread to suit both sweet and savory preferences, creating a versatile ingredient that delights the palate. Here’s how to infuse flavors into your homemade butter:
- Start with Softened Butter: Ensure your butter is at room temperature for easy mixing.
- Choose Your Add-ons: For savory butter, think herbs, roasted garlic, or spices. Sweet butters can include cinnamon, sugar, or orange zest.
- Mix Thoroughly: Combine your chosen flavors with the softened butter. Do this gently, so you don’t overwork the butter.
- Rest for Flavor Development: Wrap your flavored butter in plastic wrap and chill in the fridge. This helps the flavors meld together.
- Serve or Store: Slice or scoop your flavored butter to use immediately, or store it for later use.
Flavored butters aren’t just for bread; they can be used to top steaks, vegetables, or even to add a special touch to pancakes. Making your own means you control the quality of ingredients and the intensity of flavor. So, experiment and enjoy creating your own signature spreads!
Tips for Achieving Perfect Consistency
Achieving the perfect consistency in your homemade butter is crucial for its texture and spreadability. Here are some practical tips to help ensure your food processor butter has the ideal consistency every time.
- Use Chilled Cream: Begin with cream that’s been refrigerated, not room temperature. Cold cream separates into butter faster and easier.
- Keep an Eye on It: Watch the cream closely as it whips. Stop the processor if you see butter starting to form to avoid over-churning.
- Moderate Speed: Use a moderate speed on your food processor. Too fast and you might miss the point of separation.
- Drain Well: After the buttermilk separates, make sure to drain it completely. Any leftover liquid can affect the butter’s consistency.
- Cold Rinse: Rinse the butter under cold water to remove remaining buttermilk. This aids in achieving a firmer consistency.
- Don’t Over Flavor: When adding flavors, mix gently. Over mixing can lead to a too soft consistency.
- Chill Before Use: If the butter seems too soft, chill it in the refrigerator for a bit. Cooler butter spreads nicely without losing shape.
Using these tips, your homemade butter made in a food processor will turn out perfectly consistent and delicious every time. Keep things simple, watch the process, and adjust as needed to create the perfect homemade butter.
Storing Homemade Butter: Shelf Life and Best Practices
Once your butter is churned, rinsed, and possibly flavored, proper storage is key. Store butter right to keep it fresh and tasty. Here are simple yet effective tips for longer shelf life and quality.
- Wrap Tightly: Use parchment paper or plastic wrap to avoid exposure to air.
- Refrigerate: Keep your butter in the coldest part of your fridge.
- Seal Well: Put wrapped butter in an airtight container to protect against odors.
- Use Quickly: Homemade butter stays fresh for about five days in the fridge.
- Freeze for Longevity: For extended storage, freeze it. It can last indefinitely.
- Label: Mark your butter with the date, so you know when it’s made.
- Keep Separate: To maintain flavor, store butter separate from strong-smelling foods.
By following these best practices, your homemade butter will remain delicious and ready for your next meal or recipe. Happy spreading!
 Cooking with Homemade Butter: Recipe Suggestions
Once you’ve made your own butter, the fun doesn’t stop there. Discover the rich, full flavor it adds to various dishes with these recipe suggestions.
- Homemade Butter Spread: Simply spread your butter on fresh bread or toast. Taste the difference compared to store-bought.
- Buttery Baked Goods: Use it in recipes for cookies, cakes, or pastries. Your baked treats will have a richer taste.
- Sautéing and Frying: Cook vegetables or meats in butter. It brings out depth in flavor.
- Rich Sauces: Melt your butter for sauces. It adds a creamy texture to pasta or seafood.
- Seasoned Vegetables: Toss steamed veggies with a pat of flavored butter. Try garlic or herb butters.
- Sweet Creations: Mix cinnamon butter with honey. Drizzle it on pancakes or waffles for a special breakfast.
- Butter-Based Soups: Stir butter into soups for a smooth finish. Try it in pumpkin or tomato soup.
- Buttermilk Recipes: Don’t forget the byproduct. Use buttermilk in pancake batter or salad dressings.
By using homemade butter and buttermilk in these ways, you can enhance your cooking. The rich flavor of homemade butter truly makes dishes stand out. Remember, can you make butter in a food processor? Absolutely, and these recipes prove its worth!

