What Makes a Great Pie Crust
The secret to a great pie crust lies in its texture and taste. A perfect pie crust should be flaky, tender, and rich with buttery flavor. Achieving this begins with the right balance of ingredients and technique. When you bite into an excellently crafted pie crust, it should almost melt in your mouth, while strong enough to hold the filling without becoming soggy.
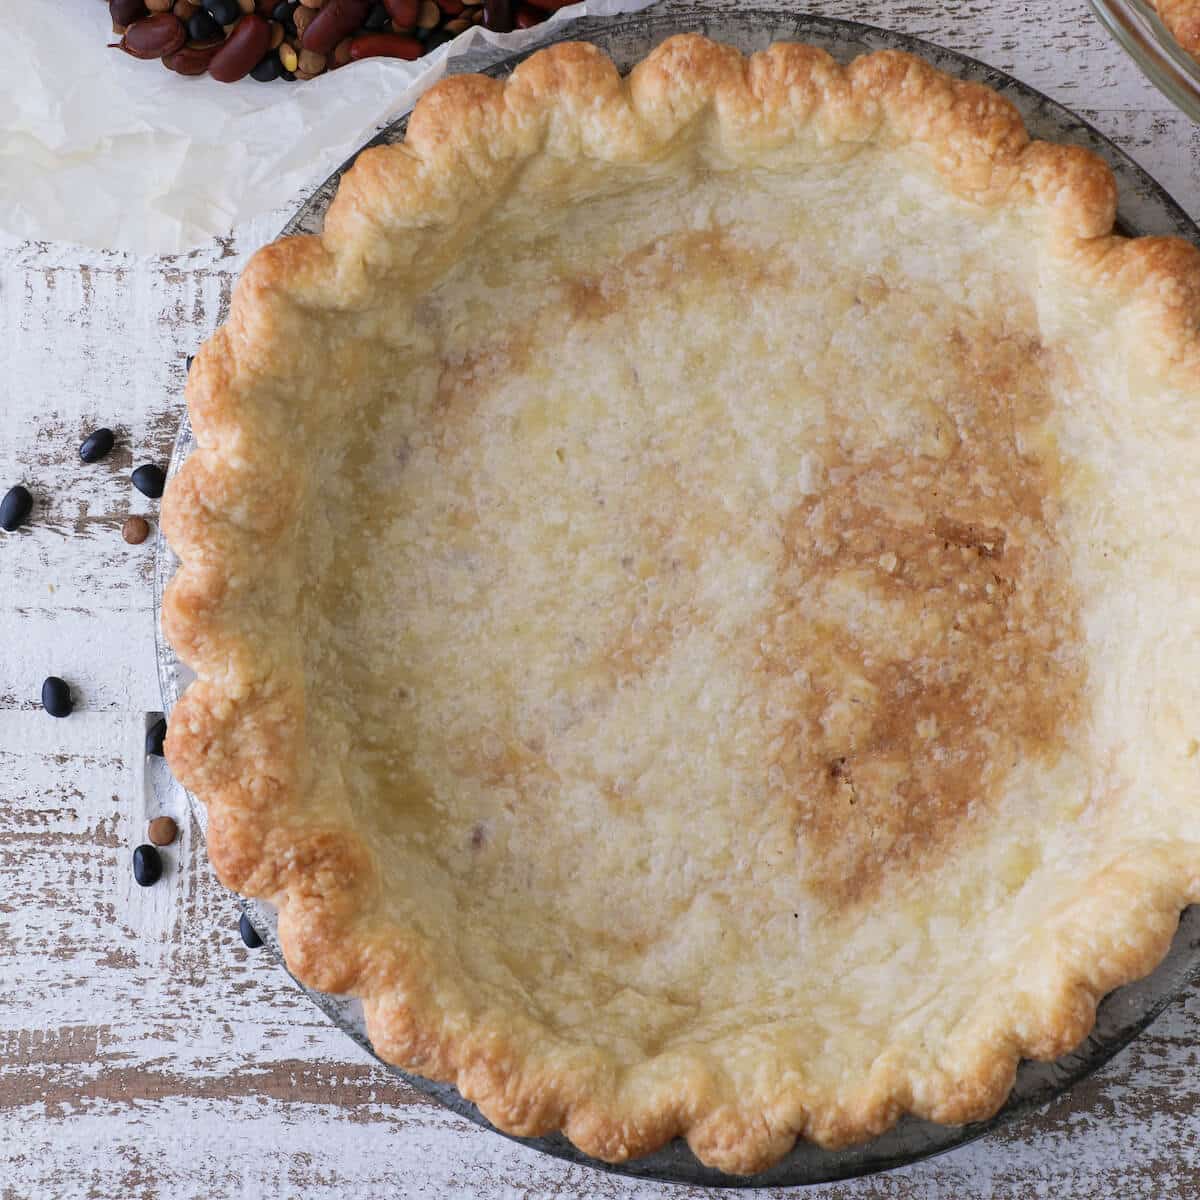
The ideal pie crust will have thin layers of dough, created by the steam from bits of cold butter or fat during baking. This steam helps to separate the dough into distinct and delectable layers. Additionally, the right mix of ingredients contributes to flavor, from the sweetness of sugar to the depth added by salt. Whether it is a buttery base for an apple pie or a savory shell for a quiche, the crust plays a crucial role in the overall sensory experience.
Ultimately, effort and care in preparation are what elevate a simple dough to the star of your dessert. We’ve all tasted pies where the crust was an afterthought – don’t let that be your pie. The crust is the foundation and deserves as much attention as the filling. With the correct approach, from selecting high-quality ingredients to mastering the technique, your pie crust will be unforgettable.
Key Ingredients for the Perfect Pie Crust
Creating the perfect pie crust is all about choosing the right ingredients. Each one plays a vital role:
- All-purpose flour provides the structure. It’s the base that holds everything together.
- Cold butter is crucial for flakiness. It creates steam pockets as it melts in the oven. Use it straight from the fridge.
- Sugar adds a touch of sweetness. It enhances the crust’s flavor, especially for sweet pies.
- Salt boosts the overall taste. It balances the flavors and should not be skipped.
- Ice-cold water helps the dough come together. The colder, the better to keep the butter solid.
- Acid like vinegar or lemon juice can prevent the formation of gluten, making the crust tender.
These ingredients work together to create a crust that’s both tasty and texturally pleasing. The butter, when kept cold, helps form the layers that puff up in the oven for that ideal flakiness. And just enough water should be used to bring the dough together without making it wet.
Remember, quality matters. Choose the best ingredients you can afford, especially when it comes to butter. It makes a significant difference in taste and texture. Now, let’s take these ingredients and turn them into a flaky masterpiece with your hands!
Butter vs. Shortening: Which to Choose
When making pie crust without a food processor, choosing the right fat is key. Butter adds flavor and creates flaky layers, while shortening makes the dough easier to handle. Both have pros and cons.
The Case for Butter
Butter provides a rich taste. It has water that turns to steam in the oven, producing flaky pockets. Use cold butter for the best results.
The Case for Shortening
Shortening is less likely to melt at room temperature. It’s great for holding shapes, like in lattice tops, but lacks butter’s flavor. Consider using it on hot days or if you’re new to making pie crust.
Combining Both
Some bakers use a mix of butter and shortening. This combo takes advantage of both fats. You get butter’s taste and shortening’s ease of handling. Try a half-and-half mixture to find a balance.
In conclusion, the choice between butter and shortening depends on your needs. Flavor lovers should go for butter. Beginners or those in warm climates might prefer shortening. Combining both could give you a crust that’s both tasty and easy to work with.
Step-by-Step Guide to Making Pie Crust by Hand
Creating homemade pie crust by hand is easier than you might think. Follow these step-by-step instructions, and you’ll craft an incredible base for your pies without needing a food processor. Let’s go through the process to create that flaky, golden crust:
- Combine Dry Ingredients: In a large mixing bowl, whisk together your all-purpose flour, sugar, and a pinch of salt.
- Cut in the Cold Butter: Using a pastry cutter or your fingers, cut the cold butter into the flour mixture. You should aim for pea-sized lumps of butter. This will create the flakiness in your crust.
- Add Ice-Cold Water: Drizzle in ice-cold water sparingly. Use just enough to bring the dough together when pressed.
- Form the Dough: With your hands, gather the dough together into a ball. Be swift to avoid warming the butter with your hands.
- Flatten and Chill: Flatten the ball of dough into a disk. Wrap it in plastic wrap and refrigerate for at least an hour. This firms the butter and makes the dough easier to roll out.
- Roll Out the Dough: On a lightly floured surface, roll the dough into a circle about 3mm thick, or until it fits your pie dish with a slight overhang.
- Transfer to Pie Dish: Carefully place your dough into your pie dish. Gently press into the bottom and sides, and trim any excess from the edges.
- Crimp the Edges: For a decorative touch, use your fingers or a fork to crimp the edges of the crust.
- Refrigerate or Freeze: If not using immediately, the pie crust can be refrigerated or frozen until needed.
By following these easy steps, you’ll create a pie crust that’s ready for any filling — sweet or savory. Your handmade crust will not only be a delightfully flaky foundation for your pies but also a testament to your baking skills.
 Tips for the Flakiest Pie Crust
For a pie crust that’s flaky and delicious, follow these pro tips:
- Keep Ingredients Cold: Use butter and water from the fridge. Warm ingredients prevent flaky layers.
- Do Not Overwork the Dough: Mix until just combined. Overworking can lead to a tough crust.
- Let the Dough Rest: Chill the dough before rolling. This relaxes the gluten for easier handling.
- Roll Gently: Use a light touch with your rolling pin. Pressing too hard can ruin the flakiness.
- Thickness Matters: Roll your dough to a uniform thickness. Aim for 3mm for even baking.
- Chill Before Baking: A cold crust going into the oven will be less likely to shrink.
- Use Pie Weights: During blind baking, weights prevent the crust from puffing up.
- Watch Your Edges: Protect the edges with foil if they brown too quickly in the oven.
By sticking to these guidelines, you will achieve a pie crust with beautiful layers that’s bound to impress anyone.
How to Blind Bake for the Perfect Pie Base
Blind baking is essential for pies needing a pre-cooked crust. It prevents a soggy bottom and ensures a crispy base, especially for fillings that are moisture-rich or cooked, like custards or fresh fruit. Follow these steps for blind baking success:
- Chill Your Crust: After shaping in the pie dish, chill the crust for 30 minutes. This firms the fat and helps maintain shape.
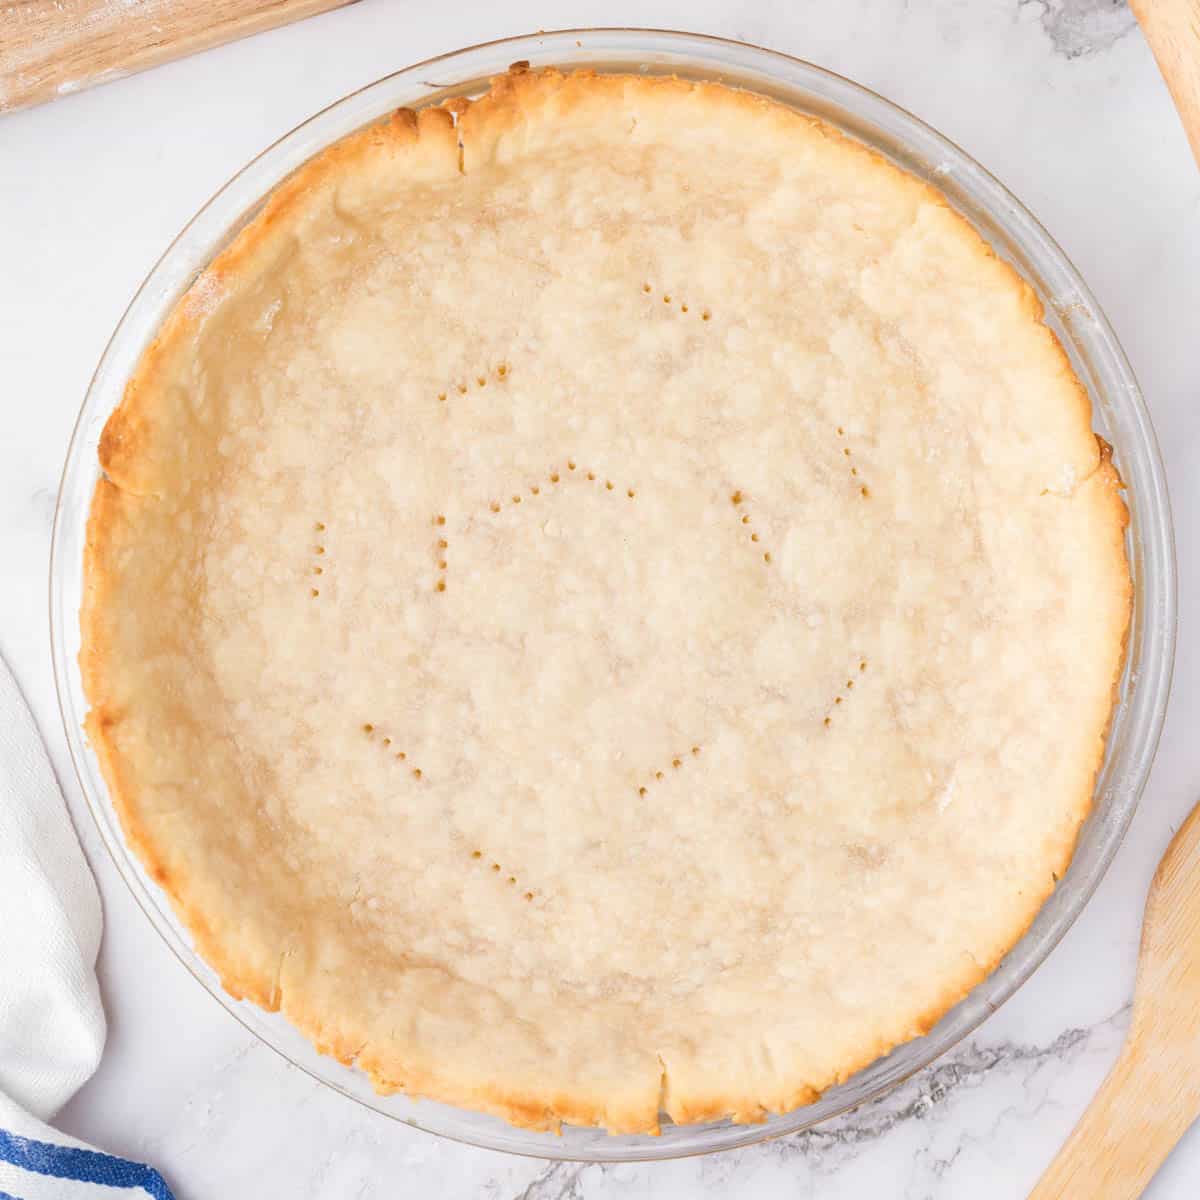
- Dock the Dough: Before baking, poke the crust’s bottom with a fork. This stops bubbles and puffs during baking.
- Use Parchment and Weights: Line chilled crust with parchment paper. Fill with pie weights or dried beans. This keeps the crust flat while baking.
- Bake Until Set: Bake at 425癋 (220癈) for about 15 minutes. Weights hold the dough down.
- Remove Weights: Lift out parchment with weights. This exposes the dough for even browning.
- Finish Baking: Bake for another 5-10 minutes until golden. Watch to avoid burning.
- Cool Before Filling: Let crust cool before adding wet fillings. This keeps it crispy.
By blind baking, your pie’s base will be perfectly cooked, supporting the filling wonderfully and providing an exceptional pie experience.
Rolling and Shaping a Beautiful Pie Crust
When rolling out your pie crust, start with a well-chilled dough. Dust your rolling surface and dough lightly with flour to prevent sticking. Use gentle pressure with your rolling pin and work from the dough’s center outwards. Turn the dough occasionally to maintain an even thickness and circle shape. Aim for about 3mm thickness.
For transferring dough to the pie dish, roll it loosely around the rolling pin, then unroll over the dish. Gently press the dough into the pan’s bottom and sides, making sure there are no air gaps. Trim any overhang to a uniform length, leaving about an inch to tuck under and create a thick edge around the pie dish. This edge can be crimped using fingers or a fork to create a decorative finish.
Once your crust is in the dish and crimped, chill it again. This final chilling will help firm up the butter one last time, ensuring your crust maintains its shape and structure during baking. Now, your pie crust is beautifully shaped and ready for filling or blind baking if your recipe calls for it. Don’t rush – taking care of these steps will reward you with an attractive and flaky crust.
 Storing and Freezing Pie Dough for Later Use
Making pie dough in advance saves time. You can store or freeze it for later use. Here’s how:
Refrigerating Pie Dough
Wrap your pie dough tightly in plastic wrap. Place it in the fridge. It’s good for up to 5 days. This is perfect for short-term storage.
Freezing Pie Dough
For long-term storage, freezing is best. Wrap the dough well with plastic wrap. Then put it in a sealable bag. Label it with the date. It can last in the freezer for up to 3 months.
Thawing Frozen Pie Dough
Move the dough to the fridge the night before you need it. Let it thaw slowly. This helps maintain the dough’s texture.
Ready to Use
After thawing, let the dough sit at room temperature briefly. Roll it out when it’s still cold but pliable.
Using these tips, you can have pie dough ready whenever you want to use it. Always handle the dough with care for the best results. Enjoy the ease of baking with pre-made dough.

