The Secret to Perfect Pie Crusts
Finding the secret to perfect pie crusts does not have to be a mystery. Here’s a foolproof method using a food processor to achieve that desired flakiness and taste every time. The method is simple and ensures that the butter is incorporated evenly without being overworked. With this technique, the resulting crust is guaranteed to be tender, flaky, and perfect for any type of pie.
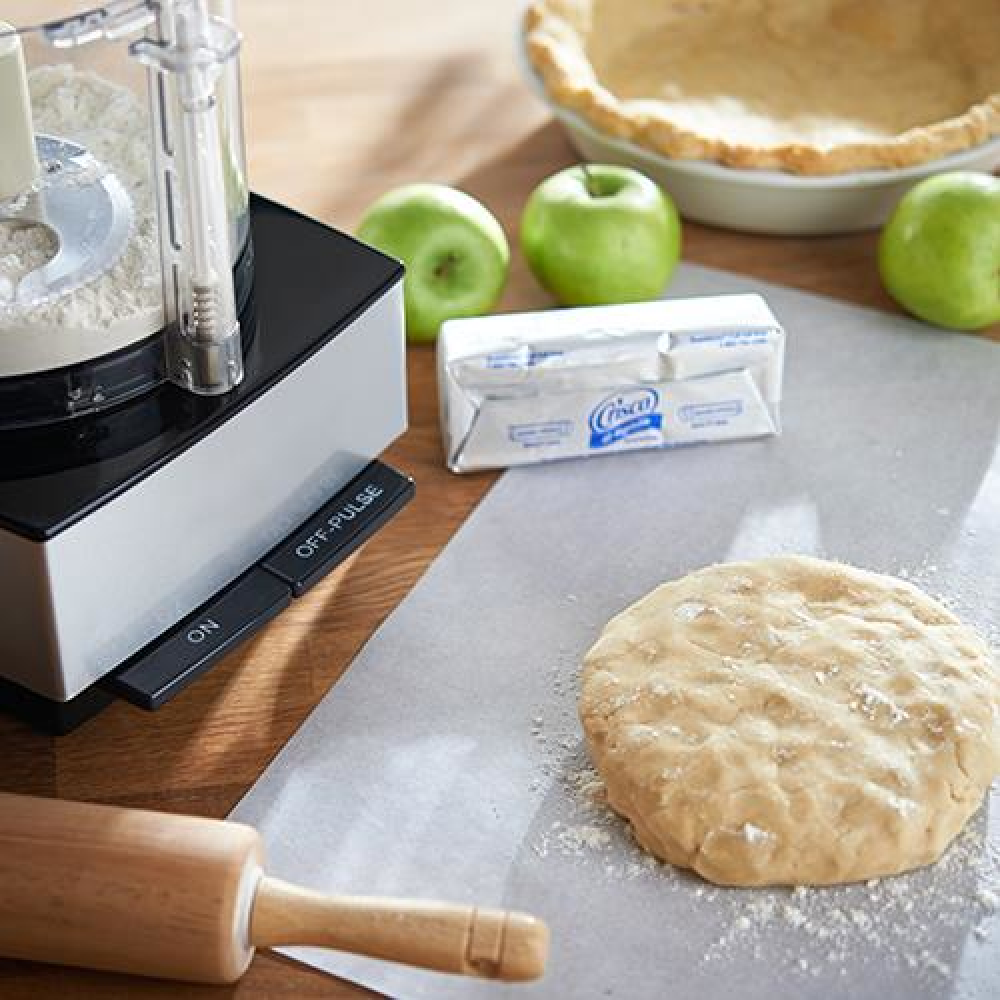
- Keep the Butter Cold: Cold butter is crucial. It helps to form small pockets of steam during baking, which is what makes the crust flaky.
- Pulse, Don’t Overprocess: Using the food processor, pulse the ingredients. Over-processing can heat and melt the butter, leading to a tougher crust.
- Use Ice Water: Ice water helps to keep the temperature down, maintaining the consistency of the cold butter.
- Quick Hands: After you have pulsed the mixture into a shaggy dough, work it on the countertop with quick, confident motions to prevent it from warming up.
- Chill Before Rolling: Resting the crust in the refrigerator before rolling it out is an important step, as it allows the gluten in the flour to relax, preventing shrinkage.
By sticking to these key points, you’ll find that making pie crust with a food processor is not only efficient but produces a superior end product. Whether you’re making a sweet apple pie or a savory quiche, the right crust can elevate your dish to new heights.
Essential Ingredients for Your Pie Crust
Creating the ultimate pie crust begins with choosing the right ingredients. Here’s a streamlined list of what you’ll need for a perfect pie crust made in a food processor.
- All-Purpose Flour: It forms the base of your pie crust, providing structure.
- Salt: A little goes a long way to enhance the flavors in your crust.
- Butter: Use unsalted, very cold butter for flakiness. It releases steam when baking, creating layers.
- Ice Water: Cold water binds the dough without warming up the butter.
Combine these ingredients correctly, and you’ll have a pie crust that’s both tasty and has that much-desired flaky texture. Remember, the temperature of these ingredients plays a pivotal role in the outcome of your crust. So, keep your butter and water as cold as possible before starting. Using these essentials, your pie crust will be the perfect foundation for both savory and sweet fillings.
Step-by-Step Guide to Making Pie Crust in a Food Processor
Follow this simple guide to make a pie crust using your food processor. It’s quick, straightforward, and yields a perfectly flaky result every time. Here’s how to do it step by step.
- Combine Flour and Salt: Begin by adding all-purpose flour and a pinch of salt into the food processor bowl. Give it a few pulses just to mix these dry ingredients.
- Add Cold Butter: Cut your very cold unsalted butter into small cubes. Scatter these over the flour mixture. Pulse several times until you get pea-sized chunks of butter throughout the flour.
- Gradually Add Ice Water: Pour ice-cold water slowly into the mixture. Add a few tablespoons at a time. Pulse after each addition. Stop once the dough starts to form larger clumps.
- Form the Dough: Turn the shaggy mixture out onto a lightly floured surface. Bring it together quickly with your hands to form a ball. If too dry, add a bit more water.
- Divide and Flatten: Cut the dough ball in half and flatten each piece into a disc. These are your pie crusts.
- Wrap for Chilling: Wrap each disc in parchment paper, plastic wrap, or aluminum foil. Chill in the refrigerator for at least one hour before rolling it out.
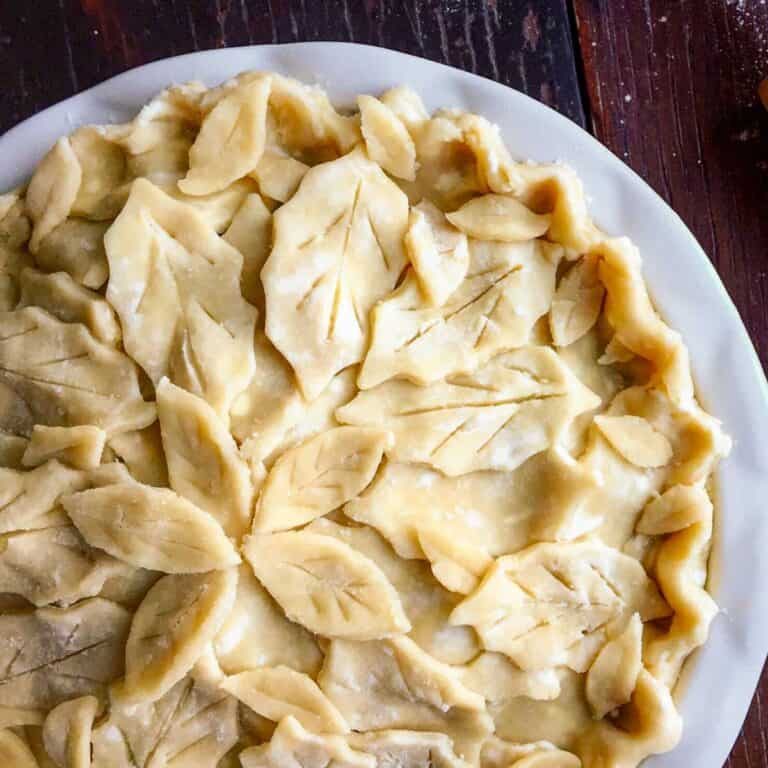
- Roll and Fit: After chilling, roll out your dough on a floured surface. Transfer it to your pie dish. Trim and crimp the edges to your liking.
By following these steps, you’ll make perfect pie crusts every time. Remember, the key is to work quickly and keep your ingredients cold. This preserves the small pieces of butter, which are essential for a flaky crust.
Tips for Handling the Dough
Handling pie crust dough can be tricky, but with these tips, you’ll manipulate it like a pro using your food processor. Keep the dough’s temperature in mind, handle it gently, and use these suggestions for best results.
- Touch the Dough Minimally: After you form the dough, touch it as little as possible. Your hands can warm the butter, affecting the final texture.
- Use Flour Sparingly: Dust your work surface with just enough flour to prevent sticking. Too much flour can toughen the crust.
- Roll Evenly: When rolling out your dough, apply even pressure. Aim for uniform thickness to ensure even baking.
- Keep It Cool: If the dough becomes soft or sticky, put it back in the fridge for a bit. Chilled dough is easier to work with and will stay flaky.
- Patch Tears Quickly: If your dough tears, patch it quickly with excess dough from the edges. Apply gentle pressure to blend it seamlessly.
- Transfer with Care: Roll the dough around your rolling pin to move it easily. Unroll it gently over your pie dish to avoid stretching or tearing.
- Don’t Overstretch: Place the dough in the pie dish without stretching it. Pushing or pulling can cause the crust to shrink during baking.
By following these tips, your dough will remain in top condition for a superior pie crust. Remember, gentle and minimal handling, coupled with cold ingredients, are your best friends in achieving that perfect, flaky texture when using a food processor to make pie crust.
 Freezing and Storing Pie Crusts
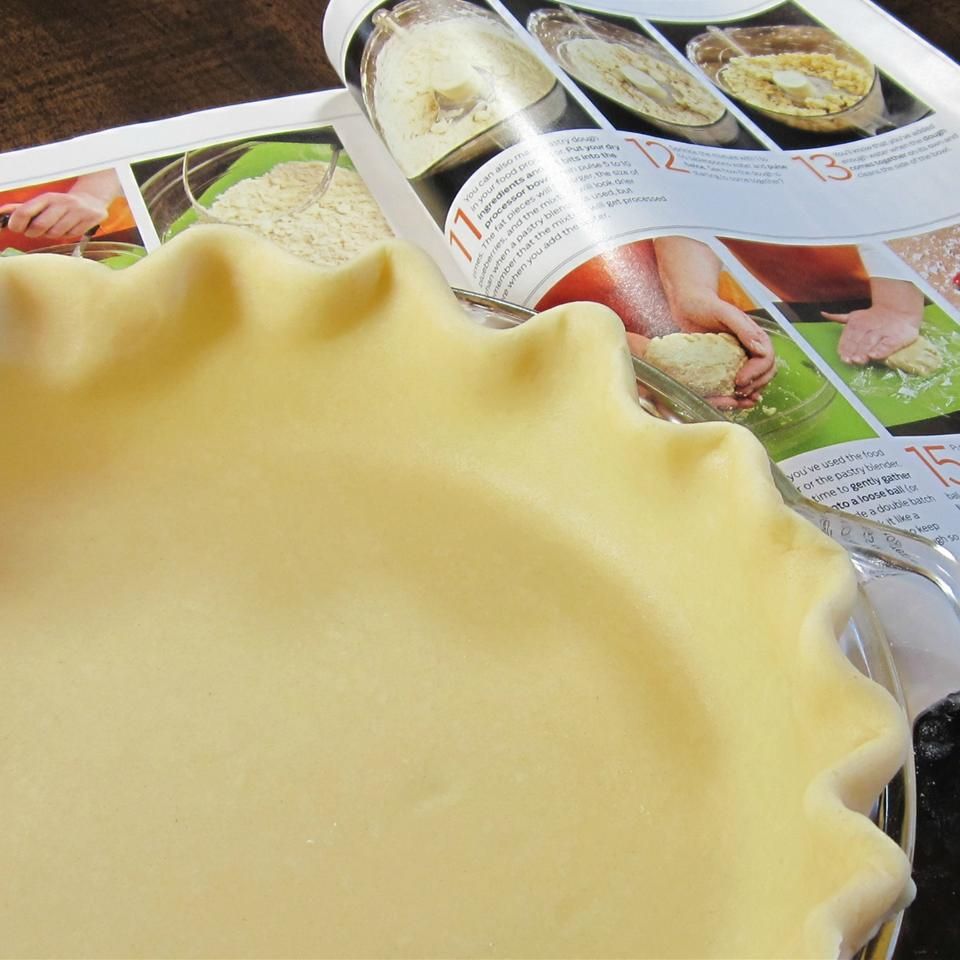
Once you have made your pie crust using a food processor, you can store it for later use. Freezing your pie crust is a great way to save time and always have a crust ready for impromptu baking sessions. Here’s how to freeze and store your crusts effectively.
- Wrap Tight: Encase each crust disc in plastic wrap or aluminum foil. Ensure it’s tight to prevent freezer burn.
- Bag it Up: Place the wrapped crusts in a freezer-safe bag. Squeeze out excess air to preserve freshness.
- Label: Mark the bag with the date, so you know how long the crusts have been stored.
- Freeze: Your pie crusts will last in the freezer for up to 3 months.
When you’re ready to use a frozen crust, follow these steps:
- Thawing: Allow the crust to thaw in the fridge overnight. It helps maintain the crust’s texture.
- Room Temperature: Before rolling out, let the crust sit at room temperature for a few minutes.
- Check: If the dough is too hard, it may need a little more time outside the fridge.
By following these tips, you’ll ensure that your pie crust is ready to go whenever you are inspired to bake. Whether you plan to make a sweet pumpkin pie or a savory quiche, having a pre-made crust available can be incredibly convenient. With proper storage, the pie crust will remain fresh and flaky, just like the day you made it.
Blind Baking Your Crust for the Best Results
Blind baking is key for pies with wet fillings. It prevents sogginess. Here’s what to do:
- Pre-bake the Crust: Before you add your filling, bake the crust a little. This helps it to firm up.
- Use Pie Weights: Fill the crust with pie weights or dried beans. This keeps the shape intact.
- Bake Until Light Golden: Keep an eye on the crust. Once it looks golden, remove weights.
- Finish Baking: Fill with your pie filling and bake as your recipe directs.
For best results, always start with a chilled crust. This helps to prevent shrinkage when blind baking. Remember to poke small holes in the bottom with a fork, allowing steam to escape.
Blind baking is not always necessary. But for creamy or custard pies, it’s a must. Quiches benefit from this step too. Skipping blind baking could leave you with a wet bottom. No one likes that!
If you made extra crusts, you could blind bake several. Then, store them for later use. Blind baked crusts save time on busy days. Plus, they freeze well.
In summary, blind baking steps up your pie game. It’s a pro move for perfect crusts every time.
Troubleshooting Common Pie Crust Problems
Even with the best techniques, you may encounter some issues when making pie crusts using a food processor. Here are solutions to common problems.
- Crust Shrinking During Baking: Prevent this by chilling the dough for an hour before rolling, and again once in the pie pan.
- Dough Too Sticky or Wet: Add a bit more flour to the dough, a tablespoon at a time, until it feels right.
- Dough Too Crumbly or Dry: Sprinkle more ice water, just a few drops at a time, until it holds together.
- Crust Too Tough: It could be overworked dough or too much water. Handle dough less and add water gradually.
- Crust Cracks When Rolling: If too cold, let it sit for a few minutes. If too dry, add a little water.
- Uneven Baking: Ensure the crust’s thickness is uniform before baking and use a reliable oven for even heat distribution.
- Soggy Bottom Crust: Use the blind baking technique, especially for wet fillings, to get a crisp bottom.
By paying attention to these tips and being mindful of how you handle your pie crust, you can solve most problems that arise. The key is to balance speed and gentleness to maintain the coldness of the butter, responsible for that sought-after flaky texture.
 Delicious Recipes to Make with Your Homemade Pie Crust
Your homemade pie crust is ready, and now it’s time to create some mouthwatering dishes with it. Here are some delicious recipes that are perfect matches for your flaky, tender homemade crust. Whether you prefer sweet or savory, there’s an option for everyone.
- Apple Cranberry Pie: The classic apple pie gets a tart upgrade with cranberries. Perfect for fall gatherings.
- Perfect Pumpkin Pie: A must-have for Thanksgiving, this pie is creamy and full of warm spices.
- Potato Bacon Pie: A savory choice, ideal for brunch or a hearty dinner. Let the flakiness complement the filling.
- Quiche Lorraine: Fill your crust with eggs, cheese, and bacon for a French-inspired breakfast.
- Cherry Apple Galette: Go rustic with a free-form pie that’s simple yet elegant.
- Blackberry Cheesecake Pie: Combine fruit and creamy cheesecake for a dessert that’s sure to impress.
These recipes highlight the versatility of your food processor-made pie crust. They show off both its flavor and texture, whether in a classic pie shape or a more casual galette. Remember, the secret to these perfect pies lies in the execution of the crust, so take pride in your homemade masterpiece.
