Creating a perfect pie crust can seem daunting at first, but with the help of a food processor, it becomes a much more manageable task. A well-made pie crust serves as a delightful foundation for any filling, enhancing both flavor and texture. This guide will walk you through everything you need to know about making pie crust with a food processor, from the basic ingredients and techniques to tips for chilling, baking, and storing.
Understanding the Basics of Pie Crust
The Importance of a Good Pie Crust
A pie crust forms the very foundation of your pie—it needs to be flaky, buttery, and sturdy enough to hold the filling while still being tender and melt-in-your-mouth delicious. Understanding the reasons behind each ingredient can empower you to create the perfect crust.
Key Ingredients in Pie Crust
- Flour: All-purpose flour is the most common choice for pie crust. Its balanced protein content provides a good structure while still allowing for some tenderness.
- Fat: Butter is often favored for its rich flavor and ability to create a flaky texture. However, shortening or a combination of both can yield a more tender crust.
- Salt: A pinch of salt enhances all the flavors in your crust and balances the richness of the fat.
- Liquid: Cold water is typically the liquid of choice. It helps bind the dough without melting the fat prematurely, preserving the flakiness.
- Acid (Optional): Some bakers add a small amount of vinegar or lemon juice to enhance the tenderness of the crust.
The Role of Temperature
Temperature plays a crucial role in pie crust preparation. Keeping your ingredients cold—especially the fat and water—ensures that the fat doesn’t melt before baking, which is essential for achieving that flaky texture.
The Equipment You’ll Need
Having the right equipment is essential when making pie crust with a food processor.
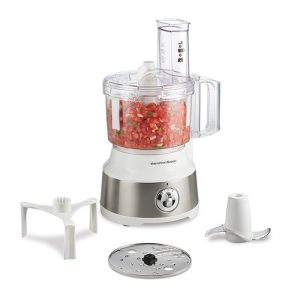
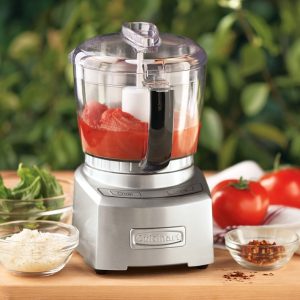
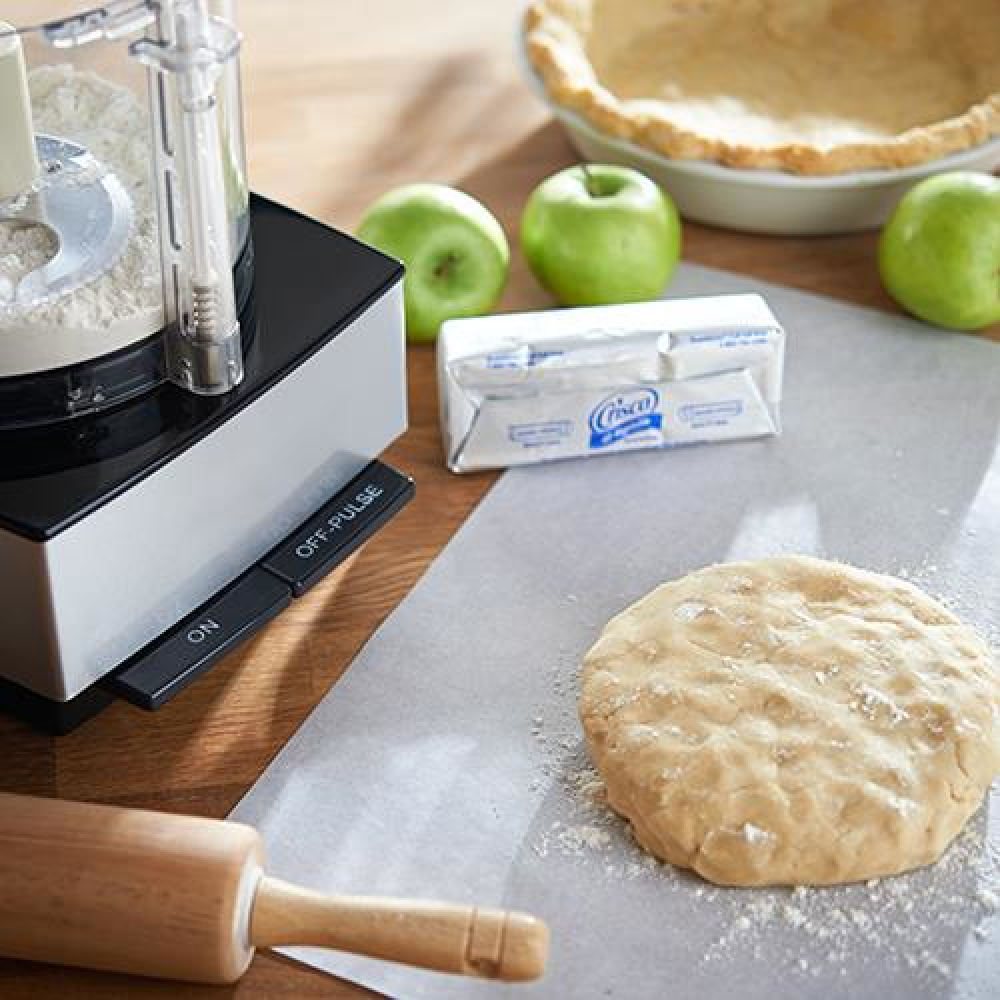
Food Processor
A good quality food processor streamlines the pie-making process. Look for one with a strong motor and a bowl large enough to hold all your ingredients.
Mixing Bowl
You might need a mixing bowl for any additional steps, like combining the final dough or letting it rest.
Rolling Pin
While you’ll be using your food processor to mix the dough, a rolling pin will be necessary for rolling it out into the desired thickness.
Pie Dish
A glass or metal pie dish is ideal for baking your pie. Each material has its advantages in terms of heat distribution and browning.
Step-by-Step Guide to Making Pie Crust with a Food Processor
Step 1: Measure Your Ingredients
Before you start, ensure you measure your flour, fat, and salt accurately. For one standard single pie crust, you’ll need about:
- 1 ¼ cups all-purpose flour
- ½ cup unsalted butter (1 stick), chilled and cubed
- ½ teaspoon salt
- 3–4 tablespoons cold water
Step 2: Combine Flour and Salt
Using the food processor, add the flour and salt together. Pulse the mixture a couple of times to combine the ingredients evenly. This step is essential for ensuring that the salt is distributed thoroughly.
Step 3: Add the Fat
Next, add your chilled, cubed butter (or shortening) into the processor with the flour mixture. Pulse the processor in short bursts, about 10 to 12 times, until the mixture resembles coarse crumbs. The goal here is to leave pea-sized pieces of fat intact, which will help create that flaky texture when baked.
Step 4: Gradually Add Cold Water
With the food processor running on low, begin to add the cold water a tablespoon at a time. Stop the processor once the dough starts to come together but is not entirely smooth. Too much blending can overwork the dough and lead to a tough crust.
Step 5: Bring the Dough Together
Transfer the crumbly dough onto a lightly floured surface and gently knead it just enough to form it into a disc. Avoid overworking the dough, which can lead to the development of gluten, making your crust tougher.
Step 6: Chill the Dough
Wrap the disc of dough in plastic wrap and refrigerate for at least one hour. Chilling the dough allows the gluten to relax and the fat to firm up, making it easier to roll out later and ensuring a flaky crust.
Rolling Out and Pre-Baking the Crust
Preparing to Roll Out
After chilling, take the dough out of the refrigerator and let it sit for about 5–10 minutes to soften slightly. This makes it easier to roll out and prevents cracking.
Rolling the Dough
- Flour the Surface: Lightly flour your work surface and your rolling pin to prevent sticking.
- Start from the Center: Place the dough disc in the center and roll outward, turning the dough occasionally to maintain a circular shape.
- Aim for Thickness: Roll until the dough is about 1/8 inch thick. Use your pie dish as a guide to ensure it’s large enough.
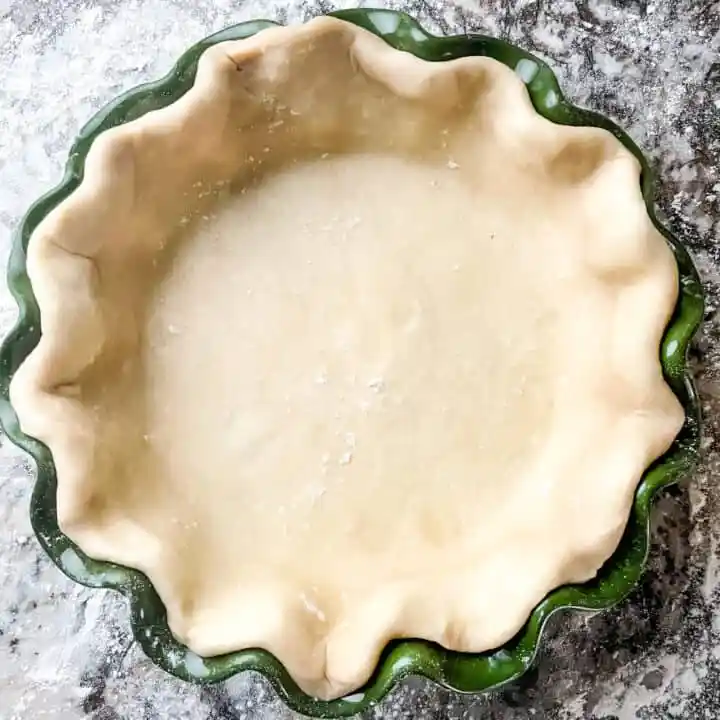
Transferring the Dough
Carefully place the rolled dough into your pie dish. Gently press it down into the corners without stretching it. Trim any excess dough hanging over the edge, leaving about an inch for a decorative edge.
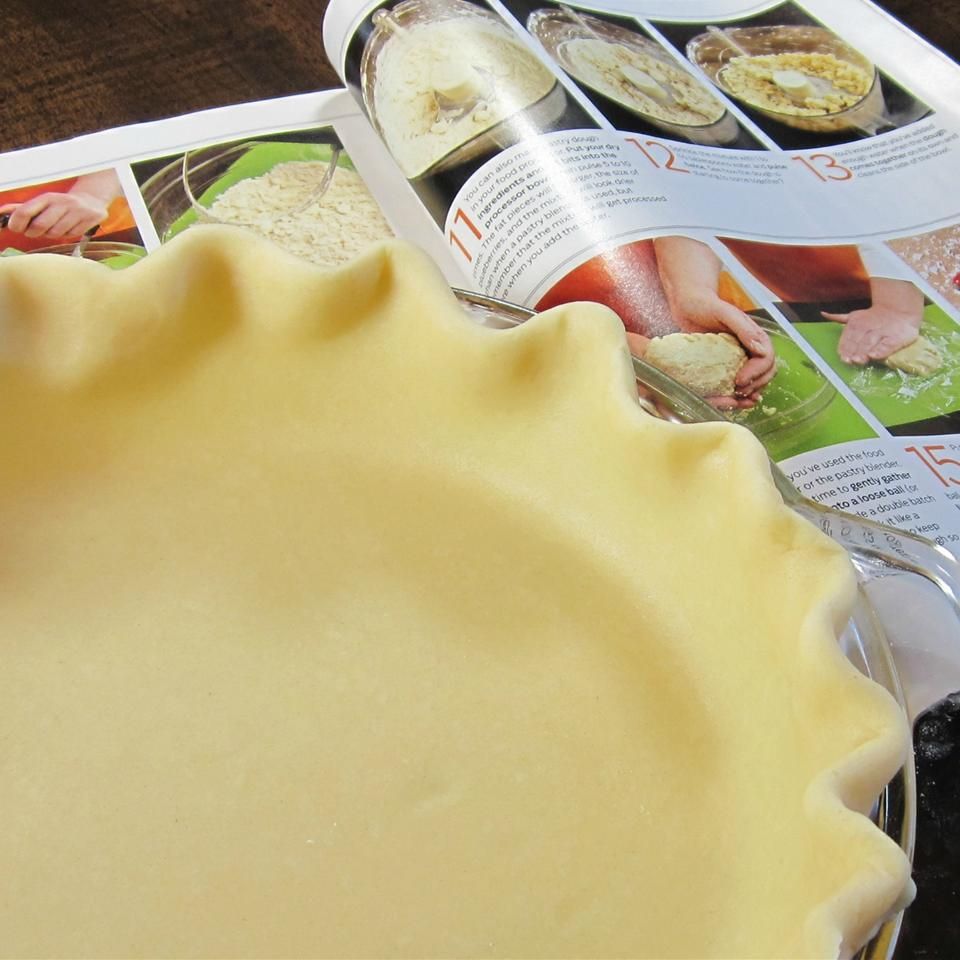
Creating a Decorative Edge
You can crimp the edges with your fingers or use a fork for a simple yet decorative touch. If you’re feeling adventurous, consider using additional decorative techniques like braiding or scalloping.
Pre-baking the Crust (Optional)
If your pie filling requires a cooked crust, pre-baking is essential. Here’s how:
- Chill Again: After shaping the crust, chill it again for about 30 minutes to reduce shrinkage during baking.
- Dock the Crust: Use a fork to pierce holes in the bottom. This prevents bubbling.
- Add Weights: Place parchment paper or aluminum foil over the crust and fill with pie weights, dried beans, or rice to prevent it from puffing up.
- Bake: Preheat your oven to 375°F (190°C) and bake for about 20 minutes. Remove the weights and paper, and bake for another 10 minutes until the crust is lightly golden.
Tips for Perfection
Preventing Tough Crust
- Chill Everything: From your ingredients to the dough to your tools, everything should be cold.
- Handle With Care: Avoid overworking the dough once you add water to prevent developing gluten.
Selecting Ingredients Wisely
- Quality Flour: Invest in high-quality flour to achieve the best texture in your crust.
- Use Salted Butter: If you prefer a more flavorful crust, consider using salted butter and reducing or omitting the added salt.
Flavor Variations
You can easily modify the recipe by adding herbs or spices into the dough or using different fat combinations (like coconut oil for a dairy-free option) to impart unique flavors.
 Storing and Freezing Your Pie Crust
Short-Term Storage
If you’re not using your pie crust immediately, store it wrapped in plastic wrap in the refrigerator for up to 3 days.
Freezing for Long-Term Use
You can freeze either the unbaked crust or the whole pie:
- Unbaked Crust: Wrap it tightly in plastic wrap and then in aluminum foil before freezing for up to 3 months.
- Fully Assembled Pie: Bake the pie crust if desired before freezing, ensuring it cools completely before wrapping it up to avoid moisture buildup.
Thawing and Baking from Frozen
When you’re ready to use your frozen crust, remove it from the freezer and let it thaw in the refrigerator overnight. If baking from frozen, extend the baking time slightly and reduce the oven temperature by about 25°F to prevent burning.
Troubleshooting Common Mistakes
Crust Cracks While Rolling
If your dough cracks while rolling, it likely means that it’s too cold or too dry. To remedy this, you can lightly press the cracks together with your fingers or let it rest before trying to roll it out again.
Pie Crust Shrinks Upon Baking
Shrinking often occurs if the dough was overworked or not chilled adequately. Ensure you allow sufficient chilling time both before rolling and during pre-baking to minimize shrinkage.
Soggy Bottom
To tackle the dreaded soggy bottom crust, ensure you properly pre-bake the crust. Blind baking can also work wonders, as can sprinkling a thin layer of cornmeal or breadcrumbs on the base of the crust before adding the filling.
Conclusion
Making a pie crust with a food processor can make the process easier, faster, and more enjoyable. With the right techniques and a few special tips, you can master pie crust making in no time. Whether you are preparing for a family gathering or simply craving a delicious slice of pie, you will find that having this skill in your culinary repertoire is invaluable. The satisfaction of pulling a perfectly baked pie out of the oven, knowing you crafted the crust yourself, is unmatched. Now that you have the knowledge and skills at your fingertips, go ahead and indulge in the art of pie-making! Happy baking!