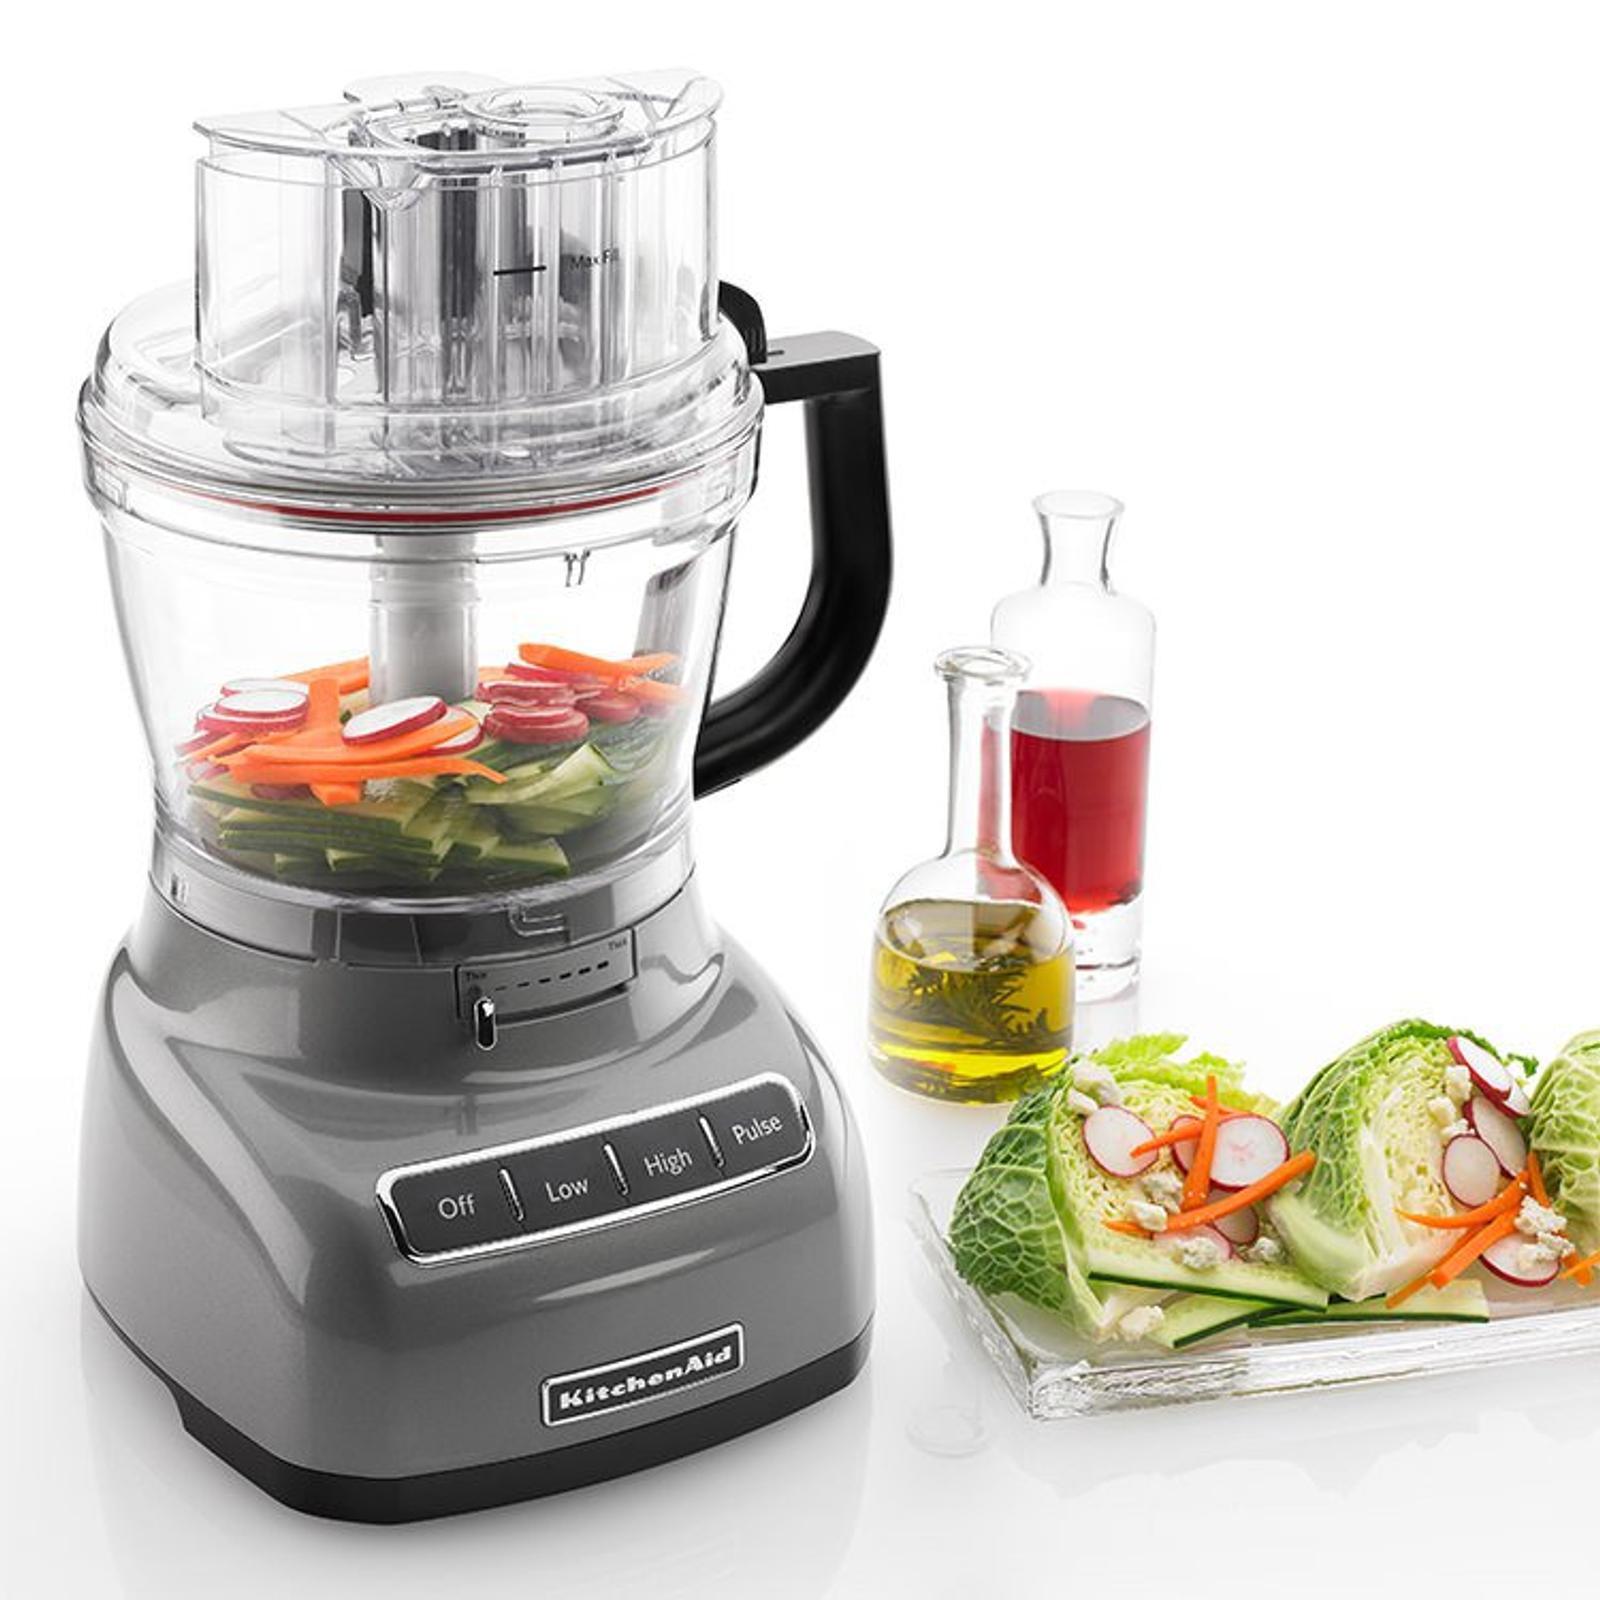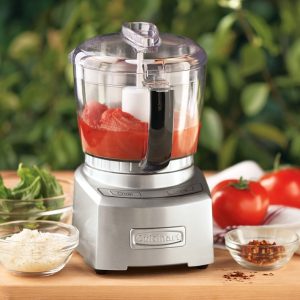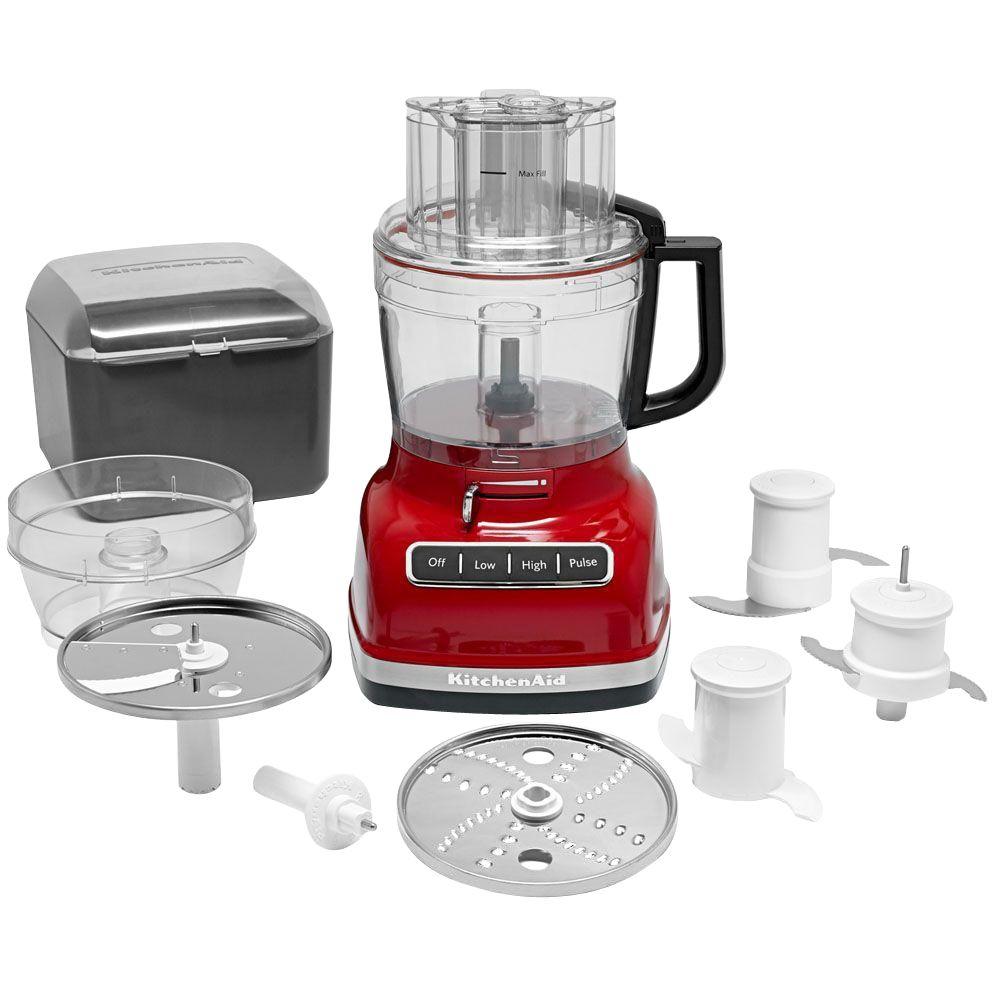
KitchenAid food processors are versatile kitchen appliances that can handle a range of tasks from chopping and slicing to shredding and pureeing. This guide will walk you through everything you need to know to get the most out of your KitchenAid food processor.
Unpacking and Initial Setup
Unboxing Your KitchenAid Food Processor
When you first receive your KitchenAid food processor, start by carefully unboxing it. Remove the appliance and all its components from the box, including the main base unit, bowl, lid, blades, discs, and any additional accessories. Ensure you have all parts specified in the user manual.
Assembling the Base Unit
- Locate a Stable Surface: Place the base unit on a stable, level surface near an electrical outlet. Ensure the area is free from moisture.
- Attach the Bowl: Place the work bowl on the base unit by aligning the bowl’s handle with the “LOCK” marking on the base. Rotate the bowl clockwise until it clicks into place.
- Insert the Blade: Most food processors come with a standard S-shaped blade. Carefully place the blade onto the blade shaft located in the center of the bowl.
- Secure the Lid: Align the lid’s markings with those on the bowl and turn the lid clockwise until it clicks. Ensure the feed tube is facing upward.
- Check Safety Mechanisms: Many KitchenAid food processors come with safety features. Ensure all parts are securely fastened to avoid starting issues.
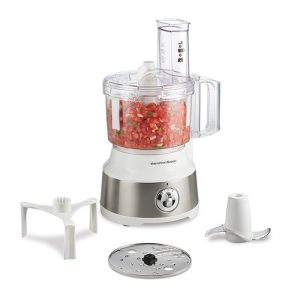
Primary Components and Accessories
- Slicing Disc: For even slicing of vegetables and fruits.
- Shredding Disc: Ideal for grating cheese or shredding vegetables.
- Dough Blade: Specially designed for kneading dough.
- Multipurpose Blade: General-purpose blade for chopping and mixing.
- Spatula: Handy for scraping down the sides of the bowl.
Basic Operations
Connecting Your Food Processor
Plug your food processor into an appropriate power outlet. Most KitchenAid food processors have simple controls, typically featuring an “On,” “Off,” and “Pulse” button.
Basic Controls Explained
- On: This initiates continuous operation.
- Off: Stops operation immediately.
- Pulse: Allows for precise control by running the processor in short bursts. Ideal for rough chopping or when mixing ingredients partially.
Using the Feed Tube
The feed tube allows you to add ingredients while the processor is running. For safety, always use the pusher that comes with your processor to push ingredients down the tube.
Advanced Techniques and Tips
Slicing Vegetables and Fruits
- Choose the Slicing Disc: Attach the slicing disc to the blade shaft.
- Prepare Your Produce: Cut your fruits and vegetables into sizes that will fit the feed tube.
- Adjust Slicing Thickness: Some KitchenAid models allow you to adjust slicing thickness with a dial.
- Feed the Produce: Insert the produce through the feed tube using the pusher. Turn the processor on to slice.
Shredding Cheese and Vegetables
- Select the Shredding Disc: Attach the shredding disc to the blade shaft.
- Handle the Cheese: For best results, use semi-firm to firm cheese and ensure it’s cold.
- Load the Feed Tube: Insert the cheese or vegetables into the feed tube and use the pusher to apply gentle pressure as the processor runs.
Making Dough
- Attach the Dough Blade: Replace the multipurpose blade with the dough blade.
- Combine Ingredients: Add your dry ingredients to the bowl first, then add liquids while the processor is running on the “On” setting.
- Pulse and Mix: Use the pulse function to start mixing and then switch to continuous operation until a dough forms. Knead for an additional 30 seconds.
Chopping and Pureeing
- Use the Multipurpose Blade: This is ideal for chopping onions, herbs, and nuts or pureeing soups and sauces.
- Pulse for Control: For rough chopping, use the pulse function to avoid over-processing.
- Add Liquids Slowly: For emulsifying sauces or pureeing, add liquids slowly through the feed tube to achieve the desired consistency.
Cleaning and Maintenance
Disassembling the Food Processor
- Unplug the Unit: Always unplug your food processor before cleaning.
- Remove the Bowl and Blades: Twist the bowl counterclockwise to remove it from the base. Carefully lift out the blades and discs.
- Separate the Lid: Twist the lid counterclockwise to remove it from the bowl.
Washing Components
- Hand Wash: The bowl, lid, blades, and discs can usually be washed by hand using warm, soapy water. Avoid abrasive cleaners.
- Dishwasher Safe: Check your user manual to see if components are dishwasher-safe. If they are, place them on the top rack of your dishwasher.
- Clean the Base Unit: Wipe the base unit with a damp cloth. Do not immerse the base in water.
Regular Maintenance
- Check for Wear and Tear: Regularly inspect blades and discs for signs of wear and replace them as necessary.
- Lubricate Moving Parts: Some models may require occasional lubrication of the moving parts. Refer to the user manual for instructions.
- Store Properly: Store all components safely to avoid damage.
Troubleshooting Common Issues
Machine Won’t Start
- Check Assembly: Make sure all parts are properly assembled and locked in place.
- Inspect Power Source: Ensure the outlet is working and the unit is properly plugged in.
- Overload Protection: Some models feature overload protection and will shut off automatically if overloaded. Let the unit cool down before restarting.
Uneven Chopping or Slicing
- Blade Condition: Check the condition of your blades and discs; dull blades can affect performance.
- Food Preparation: Ensure food items are cut to appropriate sizes for the feed tube and are being fed evenly.
- Pulse Function: Use the pulse function to control the chopping process for more even results.
Excessive Noise
- Stability: Ensure the unit is on a stable surface and all components are properly assembled.
- Ingredient Size: Overloading or adding overly large pieces can cause the processor to struggle, resulting in excessive noise.
- Loose Components: Check that all parts are securely attached.
 Creative Uses and Recipes
Salsa and Dips
Using the multipurpose blade, you can quickly whip up fresh salsa, hummus, or guacamole. Simply combine your ingredients and use the pulse function until you reach the desired texture.
Nut Butters
You can make your own peanut or almond butter by processing nuts with the multipurpose blade. Add a small amount of oil, and pulse until a smooth consistency is achieved.
Smoothies and Frozen Treats
Use your food processor to create creamy smoothies and frozen desserts. Combine frozen fruits, yogurt, and a bit of liquid, then process until smooth.
Baking and Desserts
Utilize your KitchenAid food processor to assist with baking. From pie dough to cookie batter, the dough blade and multipurpose blade can make quick work of your preparations.
Frequently Asked Questions
Can I Process Hot Ingredients?
Allow hot ingredients to cool slightly before processing to avoid damaging the bowl.
How Do I Prevent Leakage?
Ensure the bowl and lid are securely locked and avoid overfilling with liquids.
Can I Use it for Juicing?
While primarily not a juicer, you can process fruits, and then strain the juice separately.
How Often should I Sharpen Blades?
Regular use may eventually dull the blades; consider having them sharpened annually.
Conclusion
A KitchenAid food processor is a powerful and versatile kitchen tool that can simplify many cooking tasks. From basic chopping and slicing to advanced dough making and pureeing, this guide has covered the essential steps to using your food processor effectively. With proper maintenance and care, your KitchenAid food processor can be a long-lasting assistant in your culinary adventures.
By understanding how to use your KitchenAid food processor correctly, you can fully harness its capabilities and elevate your culinary skills to new heights. Whether you’re a novice cook or an experienced chef, this appliance can make your time in the kitchen more enjoyable and efficient.
